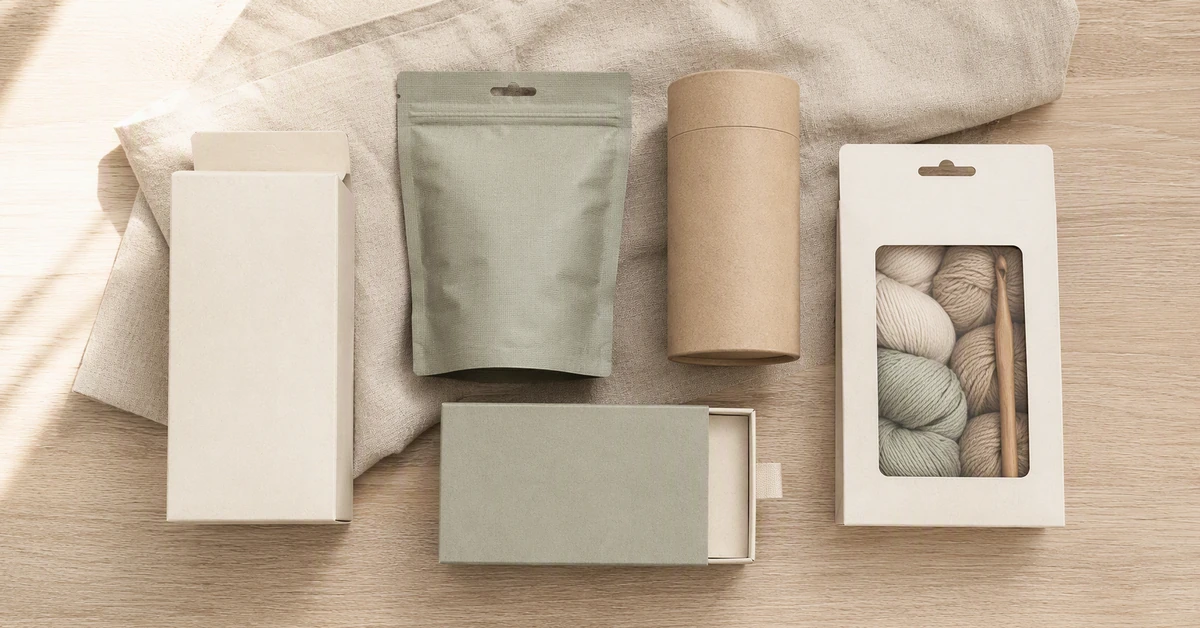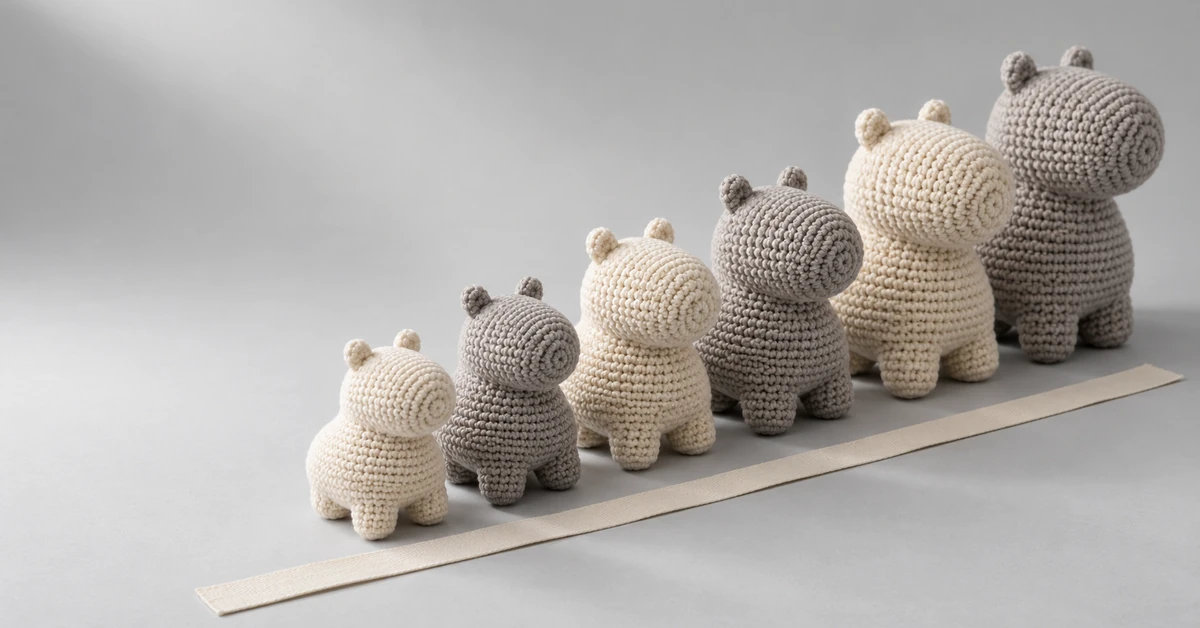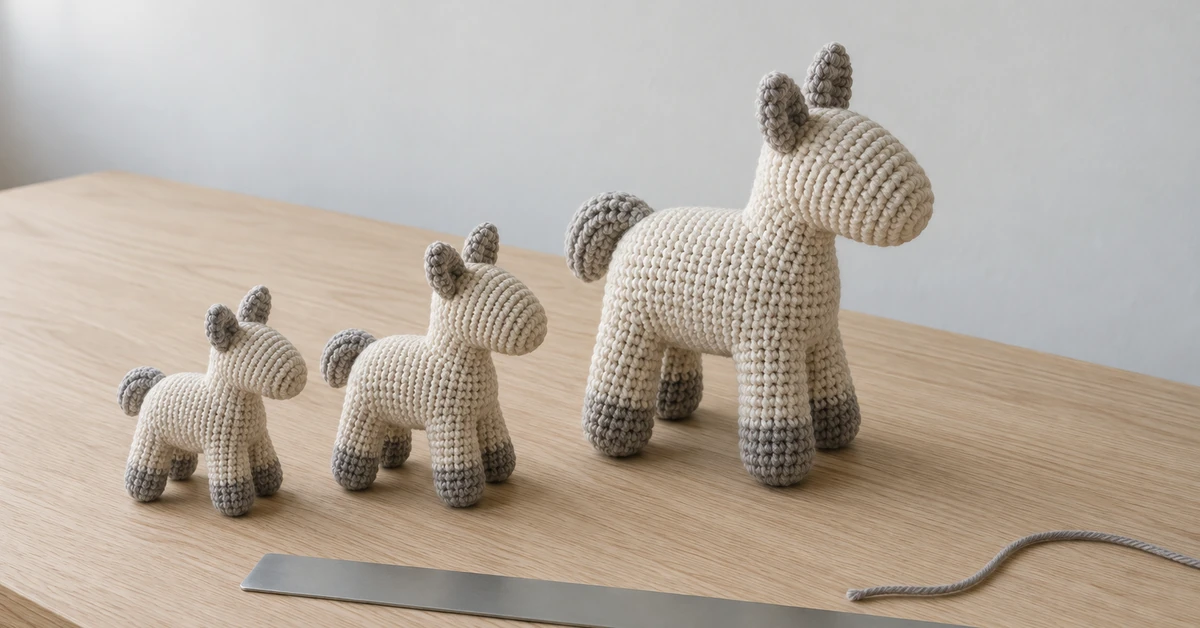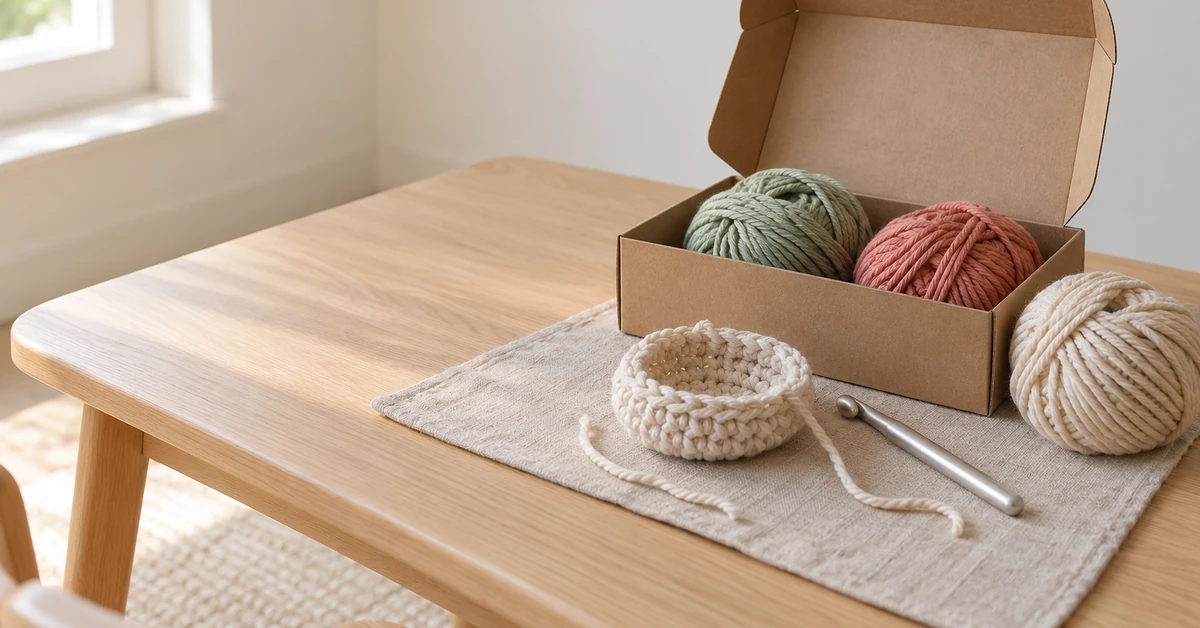

The most expensive packaging mistake is often made before anyone talks about artwork. Custom packaging craft supplies should begin with the product's risk, the shopper's decision and the carton route. Onehourcrafts frames packaging as a specification: what must be visible, protected, counted, translated, barcoded and changed without losing control. That approach gives a buyer a clearer RFQ and a supplier a brief that can survive production.

Name the product risk first
Sort the supply into a simple risk family: loose small parts, sharp tools, soft fiber, liquid or shape-sensitive components. Each family changes the minimum protection and the amount of product that should remain visible.
A window may help a color-sensitive yarn, while a sealed card may protect a sharp notion. Start with the failure you need to prevent rather than copying a competitor's silhouette. The right pack is a product decision before it is a brand decision.
| Risk | Pack question | Evidence |
|---|---|---|
| Loose parts | Can count stay clear? | Shake test |
| Sharp tool | Where is the point? | Holder |
| Soft fiber | Will it compress? | Carton test |
| Shape | Will it deform? | Stack test |
Choose the shopper's proof
Decide what the shopper must judge before purchase: color, scale, finished result, component count or brand story. Put that proof on the front-facing area and keep supporting detail in the next layer.
A clear window is not automatically more honest if it hides the quantity or makes the product look unfinished. Compare a photographed sample, a partial window and a full open view against the actual fixture. Record which proof answers the first question fastest.
- Name first question
- Select proof
- Test from shelf distance
- Remove nonessential detail
Build a pack hierarchy
Use three layers: front promise, back decision and inside instruction. The front should identify the product and show the strongest proof. The back can carry contents, dimensions, skill cue, care or compliance fields. The inside can teach the sequence.
Keep hierarchy stable across a family so a shopper recognizes the range. Variation belongs in the motif or color system, not in a new information architecture for every SKU. This is where private label craft packaging becomes an operating system rather than a logo exercise.
| Layer | Job | Do not hide |
|---|---|---|
| Front | Choice | Product identity |
| Back | Decision | Contents and limits |
| Inside | Use | First step |
| Carton | Control | SKU and count |
Set the non-negotiable fields
Before artwork, list the fields that must remain correct across markets: material wording, contents, dimensions, origin, care, age cue, barcode, batch or SKU and any required caution. Ask the responsible owner to approve each field.
Do not add a compliance claim because it looks reassuring. If a market or product needs a specific review, flag it for the brand's qualified team. A packaging brief can create ownership and version control without inventing a certification.
- Contents
- Material
- Dimensions
- Care
- Barcode
- Revision owner
Test opening without a surprise
Give a packed sample to someone who did not write the brief and ask them to open it, identify the contents and return the components to the pack. Observe torn tabs, hidden parts, sharp edges and the moment the product stops feeling organized.
Opening is part of the customer experience and the warehouse experience. A sealed inner bag may protect small parts but make the first use feel difficult. Record the trade-off and decide whether the pack needs a tear cue, reseal or a different component order.
| Action | Observe | Decision |
|---|---|---|
| Open | First resistance | Add cue |
| Find | Hidden part | Change order |
| Use | Loose component | Add inner |
| Return | Pack integrity | Add reseal |
Design for the carton
Calculate the packed dimensions, inner count, carton orientation and stacking limit before final artwork. A beautiful retail unit that creates dead space or crush risk can change the landed cost and the damage rate.
Ask the supplier to show a carton mock-up with the actual pack, not an empty box. Test the unit after movement and compare it with the approved front view. A few millimeters may decide whether the product travels upright or flat.
- Measure pack
- Set inner count
- Mock carton
- Move and inspect
- Record orientation
Make the barcode belong to the pack
A barcode or SKU should identify the exact sellable unit, not merely the product family. Tie the code to size, color, count and revision where those differences affect ordering or inventory.
Use the GS1 barcode guidance to frame identification questions, then confirm the actual implementation with the brand's operations team. Print location, contrast and quiet space should be checked on the final material, not only on a screen.
| Identity | Example | Check |
|---|---|---|
| Family | Needle kit | Name |
| Variant | Blue-12 | Count |
| Revision | R3 | Artwork |
| Barcode | Sellable unit | Scan |
Plan the color and material handoff
Record the color reference, substrate, finish and approved tolerance in the same file as the artwork. A warm paper, a clear window and a matte coating can change how the product color reads beside the sample.
Do not ask a printer or supplier to infer a visual match from a screenshot. Send a physical or controlled reference, then approve the production-intent sample under the light used by the retailer. Keep an exception log for changes that are accepted intentionally.
- Color reference
- Substrate
- Finish
- Light condition
- Exception note
Decide what can change
A pack often evolves after the first order: a color is replaced, a tool changes, a translation is added or a carton count is adjusted. Mark which fields may change without a new approval and which trigger a full review.
A revision code, date and owner keep an apparently small edit from becoming a silent mismatch between inventory and artwork. This is especially important when a private-label program uses several suppliers or markets.
| Change | Review level | Record |
|---|---|---|
| Color | Sample review | Palette |
| Tool | Content review | Contents |
| Language | Text review | Market |
| Carton | Logistics review | Count |
Write the custom-packaging RFQ
A strong RFQ names the product risk, shopper proof, pack layers, required fields, material references, opening test, carton limits, barcode plan and change rules. Include one existing unit if the new pack is a refresh and identify what must not move.
Use the buying-guide library for the buying framework, the sewing-notions collection for a live sewing-supply reference, and the ISO quality principles for process ownership. The GS1 barcode guidance supports the identity discussion; it does not replace local compliance review.
| RFQ block | Evidence | Owner |
|---|---|---|
| Risk | Failure sample | Product |
| Front | Shelf mock-up | Brand |
| Inside | Opening test | User |
| Carton | Loaded sample | Logistics |
Onehourcrafts keeps the artwork answerable
Onehourcrafts can align product risk, shelf proof, information hierarchy, material reference, carton route and revision ownership before a file is released to print. That gives the buyer a way to compare quotes without reducing the decision to decoration.
Before approving custom packaging craft supplies, ask whether a new reviewer can identify, open, count, use and reorder the unit from the approved pack. If the answer survives those five actions, the packaging is ready for a controlled production decision.
- Risk named
- Proof visible
- Fields owned
- Change controlled
- Carton tested
Run the five-action gate
Before artwork is released, make one reviewer identify, open, count, use and reorder the pack from the same file. A packaging team can pass four actions and still fail at the handoff to inventory. Record the first failed action and assign the correction before approving a print run.
- Identify the sellable unit
- Open without damage
- Count every component
- Use the first step
- Find the reorder code
The final custom packaging craft supplies brief should connect craft supply packaging design, private label craft packaging and retail packaging for craft supplies to one controlled specification. Keep the buyer's approval file linked to the company home so the commercial context remains visible without adding a new claim.
Frequently asked questions
What should be decided before artwork?
Define product risk, shopper proof, pack hierarchy, required fields, materials, carton limits and revision ownership.
Is a window always better?
No. Compare visibility with protection, count clarity, shelf appearance and the way the customer will judge the product.
What belongs on the front?
Product identity and the strongest choice proof; contents, limits and use detail can move to the back or inside.
How do you test a custom pack?
Open, identify, use and return the packed contents with someone who did not write the brief, then run a carton handling check.
How should private-label revisions be controlled?
Use a revision code, date, owner and a clear list of changes that require a new sample approval.
What barcode information matters?
The code must identify the exact sellable unit and remain scannable on the approved material and finish.
Should a packaging RFQ include a carton?
Yes. A loaded carton reveals space, orientation, stacking and damage risks that a flat artwork file cannot show.
How should color be approved?
Use a controlled physical or defined reference under the retailer's light, not a screenshot alone.
What is a useful pack hierarchy?
Front promise, back decision, inside instruction and carton control; each layer has a distinct job.
When is packaging ready for production?
When a new reviewer can identify, open, count, use and reorder the unit from the approved specification.