
A DIY cross stitch kit manufacturer who has watched a kit being used will describe it as a sequence of sessions rather than a list of contents. Nobody sits down and finishes a counted piece in one go. The maker works for forty minutes, puts the hoop down, loses the thread, comes back two evenings later and has to remember where the last row ended. The kit either helps that rhythm or fights it.
This article follows one kit through the shape of a real week: the first ten minutes, the long middle, the last stitch and the pause in between. Each stage puts a different demand on the components, and most complaints that reach a buyer as a single sentence about quality are actually complaints about one specific stage.
A kit is used in sessions, not in one sitting
Retail kits are judged in the first session and reviewed in the last. That gap is why two kits with identical contents can behave completely differently. The difference is usually not floss or fabric but whether the kit survives being put down: thread stays identifiable, the chart stays findable, and the maker can restart without re-counting the whole design.
A buyer who asks what happens between sessions is asking a better question than a buyer who asks how many colours are included. The answers are cheap to fix at the sample stage and expensive to fix once ten thousand kits are printed.
| Session | What the maker is doing | What the kit has to provide |
|---|---|---|
| First ten minutes | Finding the centre and starting the first motif | A clear start point and one colour already separated |
| The long middle | Repeating a motif across several evenings | A chart that is readable at arm's length and holds its place |
| An interruption | Putting the work down mid-row | Thread that can be identified again and a hoop that holds tension |
| The last stitch | Closing the design and deciding whether to frame it | Finishing guidance and enough floss to tie off properly |
| Afterwards | Showing the finished piece or giving it away | A care note and, often, a second chart for the leftover thread |
Session one: what has to be true in the first ten minutes
The first ten minutes decide whether the kit feels competent. Three things have to happen without hunting: the maker finds the centre of the fabric, identifies the first colour, and understands how many strands to use. Kits that fail here are not badly made, they are badly sequenced.
- The fabric centre is marked in a way that does not have to be counted twice.
- The first colour is separated from the rest, so the box does not have to be unpacked fully.
- Strand count is stated at the point of use, not only in the introduction.
- The needle is the right size for the fabric count and is already threaded or easy to thread.
- The chart shows the starting motif at a size a beginner can follow without magnification.
A beginner cross stitch kit can afford to be generous here. A kit aimed at an experienced stitcher can move faster, but moving faster at the start saves the buyer a few pence and costs the kit its first review.
Sessions two to four: the long middle
Most of the making time is repetition, and repetition is where chart design earns its place. A chart printed across a fold, at a scale that needs a straight edge to follow, turns an enjoyable evening into a counting exercise. The same design printed larger, split across two spreads with the repeat marked, behaves completely differently.
Cross stitch chart reading is a skill that improves quickly, and the chart can either support the first two hours or make them feel like homework. Marking the repeat, keeping one symbol per square and printing the colour key on the same spread as the working area are all decisions that cost nothing at the design stage.
Floss quantity is a middle-session problem too. Buyers often test a kit by counting whether the supplied length finishes the design, which is the wrong test. The right test is whether each colour finishes with a workable tail, because running out twelve stitches from the end of a block is the moment a kit is judged.
Getting cross stitch kit floss quantity right usually means measuring per colour on a real sample and then rounding up to a length that can be wound onto a card. Lengths that finish exactly are the ones that produce a complaint, and the surplus involved is a fraction of a skein.
| Chart decision | What it changes for the maker | Where buyers notice it |
|---|---|---|
| Symbol size on the page | Whether a row can be found again at a glance | Reviews about miscounting |
| How the repeat is marked | Whether the middle stays interesting or becomes a chore | Whether the kit is recommended to beginners |
| Colour key placement | How often the eyes leave the chart | Complaints about wrong colour blocks |
| Page size and fold | Whether the chart lies flat beside the hoop | Photographs of the kit in use |
Session pause: the tests a kit only faces when it is put down
Interruptions are where cheap kits and well-made kits separate. An unlabelled bundle of floss is fine while it is on the table and useless once it has been moved. A hoop that loses tension overnight has to be retightened before every restart. These are small frictions that accumulate into the sense that a kit is fiddly.
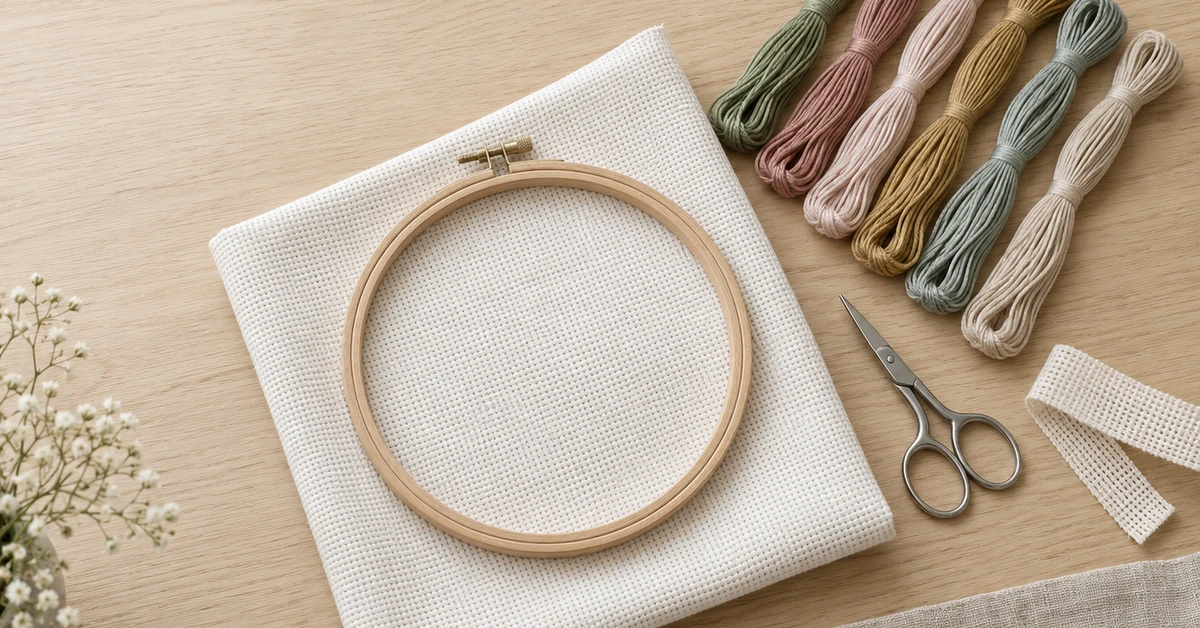
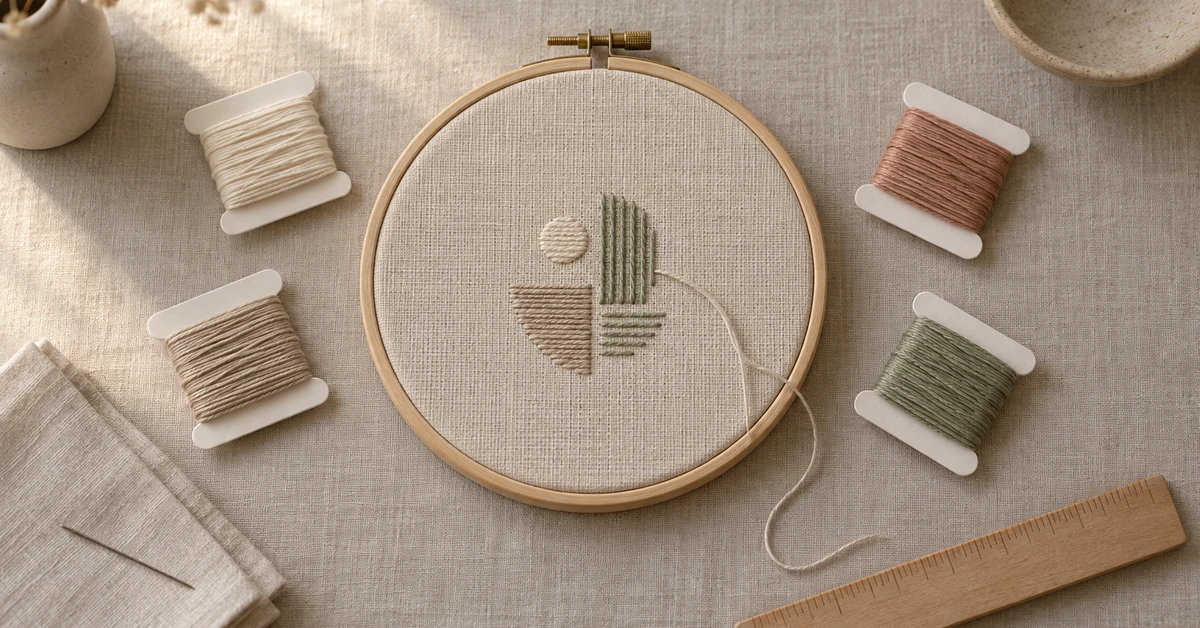
A cross stitch hoop and needle that suit the fabric count remove most of that friction. The hoop has to hold tension across days rather than minutes, and the needle has to be large enough for the maker to thread without a second visit to the drawer.
- Floss wound onto a numbered or symbol-marked card rather than left as loose skeins.
- A hoop or frame that holds tension across a gap of days.
- A printed version of the chart that can be folded for storage without hiding a working area.
- A small spare needle, because the first one is the item most often lost.
The cost of solving this is a few grams of card and one extra needle. The commercial return is a kit that can be recommended to a beginner, which is how a counted line grows between seasons.
The last stitch: finishing items people forget
The final session needs different materials from the rest of the project, and kits that stop at the last stitch quietly assume the maker owns them. Tying off neatly, pressing the fabric and deciding whether to frame, hoop or mount the piece all need something that a first-time buyer may not have.
- Enough floss to tie off every colour, rather than a length that finishes on the last stitch.
- A starting instruction for the finish: how to press without flattening the stitches.
- A note on whether the supplied hoop is for working or for display.
- A care line, so the piece is not washed in a way that bleeds the darkest colour.
- A short second chart that uses the leftover thread, which turns waste into a reason to buy again.
Where a DIY cross stitch kit manufacturer draws the line on finishing
There is a boundary between a kit that supports finishing and a kit that hires the customer as an unpaid assembler. Pre-mounting, pre-framing and full colour sorting sound generous and can push the price above the shelf it was built for. The useful test is whether the added step removes frustration or removes the hobby.
Buyers can apply that test as a question about pleasure: after finishing, does the maker feel they made something, or that they assembled a purchase? Kits that land on the wrong side of that question still sell, but they do not get passed on to friends.
Components that get lost, and how a kit plans for them
Every kit loses something before it is finished: a needle, a strand, the small card that carried the symbol. Planning for that is not pessimism, it is a specification choice with a measurable effect on returns.
| Item most often lost | Probability across a project | Cheap mitigation |
|---|---|---|
| Needle | High, usually during the second session | One spare taped inside the chart card |
| A single floss card | Moderate, especially on multi-colour designs | A chart with every symbol also named in words |
| The colour key | Moderate | A repeated key on the inside back cover |
| The instruction sheet | Low, but expensive when it happens | A shorter quick-start panel that can be photographed |
Packing a kit so a session can start without scissors
A kit is opened far from a craft drawer, often on a train or in a room where nobody keeps scissors. If opening it requires a blade, the first session begins with improvisation. The usual fixes are tear notches, a folded rather than stapled closure, and floss cards that can be lifted out rather than cut free.
- A closure the customer can open with fingers.
- Floss cards that pop out and go back in, so a partial project stays tidy.
- The chart on a sheet thick enough not to curl under a hoop.
- A packaging panel that shows the finished piece at true proportion, not enlarged.
Returns and reviews: reading complaints by session stage
A buyer who reads review text by session stage learns more than one who reads star ratings. A complaint about counting belongs to the chart. A complaint about colour belongs to the floss key or the dye lot. A complaint about the finished piece looking untidy usually belongs to the finishing instructions, which is the cheapest of the three to rewrite.
| Complaint wording | Stage it belongs to | First change to make |
|---|---|---|
| I kept losing my place | Long middle | Enlarge the chart and mark the repeat |
| The colours ran separately | Finishing | Add a care note and a pressing line |
| It ran out of one colour | Long middle | Re-measure floss per colour, not per design |
| The pattern was too small to read | Session one | Reset the type size before reprinting |
Seasonal review material published by NRF describes how a retail category is planned and reviewed across a year, and kit ranges follow the same rhythm: a launch, a mid-season read and a decision about what carries forward. Cross stitch kit instructions are usually the cheapest item to revise between those points, which makes them the first thing to change when the reviews point at the chart.
How Onehourcrafts tests a kit session by session
Onehourcrafts tests a cross stitch kit the way it will be used. A maker starts the first motif, stops mid-row, leaves the work overnight and picks it up again, then finishes and presses the piece. Each stage is written down with the friction it produced, and the chart, the floss allowance and the finishing note are revised together rather than one at a time.
The DIY cross stitch range is described on the cross stitch page, and the embroidery work that shares the same chart and floss decisions is on the embroidery page. Buyers comparing kit formats will find the wider notes in the buying guide.
The documentation side is deliberately light. The management-system principles published by ISO are a reasonable description of what a supplier's own quality process should contain, and a short kit specification, a session test note and a photographic record cover what a buyer needs to hold a range steady.
What a session map cannot fix
A session map will not rescue a design that is unpopular, a price point that does not match the shelf, or a fabric count that is simply too fine for the audience. It also cannot make a large design finish quickly. The map improves the time a customer spends with the kit; it does not change how long the project takes.
There is one further limit worth naming. Session behaviour is measured on a small group of makers, so the findings describe a tendency rather than a rule. Ten testers from the intended age band will show the pattern; a general market will show a range.
A counted cross stitch kit also inherits the constraints of its fabric and floss, which a session map cannot move. If the count is too fine for the audience or the palette is too close in tone to separate by lamplight, the answer is a different specification rather than a better instruction sheet.
Buying by session rather than by count
The next time a DIY cross stitch kit manufacturer sends a specification, read it in the order a customer meets it: what happens in the first ten minutes, what supports the middle, what is provided for the last stitch. Kits specified that way cost slightly more to assemble and are markedly easier to sell twice.
Send the intended audience, the shelf price and the finished size through the inquiry form, and the sample can be built around the sessions rather than around the contents list. Earlier notes on chart and component decisions are on the Onehourcrafts blog.
Frequently asked questions
What is the first thing a beginner notices about a kit?
Whether the first ten minutes work: finding the centre, separating one colour and knowing how many strands to use. Everything else is judged later.
Should floss be supplied per design or per colour?
Per colour, measured so that every colour finishes with a workable tail. A design-level figure hides the colour that runs out first.
How large should a chart be printed?
Large enough to follow at arm's length while the hoop is held. If a straight edge is needed to track a row, the type is too small.
Is a spare needle worth the extra cost?
It is one of the cheapest additions available. The needle is the item most often lost, and losing it usually ends a session early.
Do kits need to supply finishing materials?
They need to supply enough to finish the stitching neatly. Whether the frame or mount is included depends on the shelf and the price band.
Can one chart serve beginners and experienced stitchers?
It can, if the chart carries a quick-start panel for beginners and the full symbol work for everyone else. One version for both, with no quick start, suits neither.
Why do kits bleed colour in the wash?
Usually because a dark shade was not pre-tested on the supplied fabric. A care note and a press rather than a wash solve most of it.
What makes a kit feel cheap in the middle of a project?
Loose floss that has to be re-identified, a hoop that will not hold tension, and a chart that moves. Each is a packing decision rather than a material one.
How many testers are enough for a session test?
A small group from the intended audience is enough to reveal the pattern of friction. Ten testers usually show every problem that matters.
Should leftover thread be planned for?
Planning a small second chart around the leftovers is cheap and turns waste into a reason for the customer to come back.