

A craft kit product photography checklist should answer the questions a shopper cannot resolve by touching the product: What will I make, what is included, how large is it, what skills are required, and what will the materials actually look like? A useful image set reduces uncertainty without exaggerating color, quantity, scale or ease.
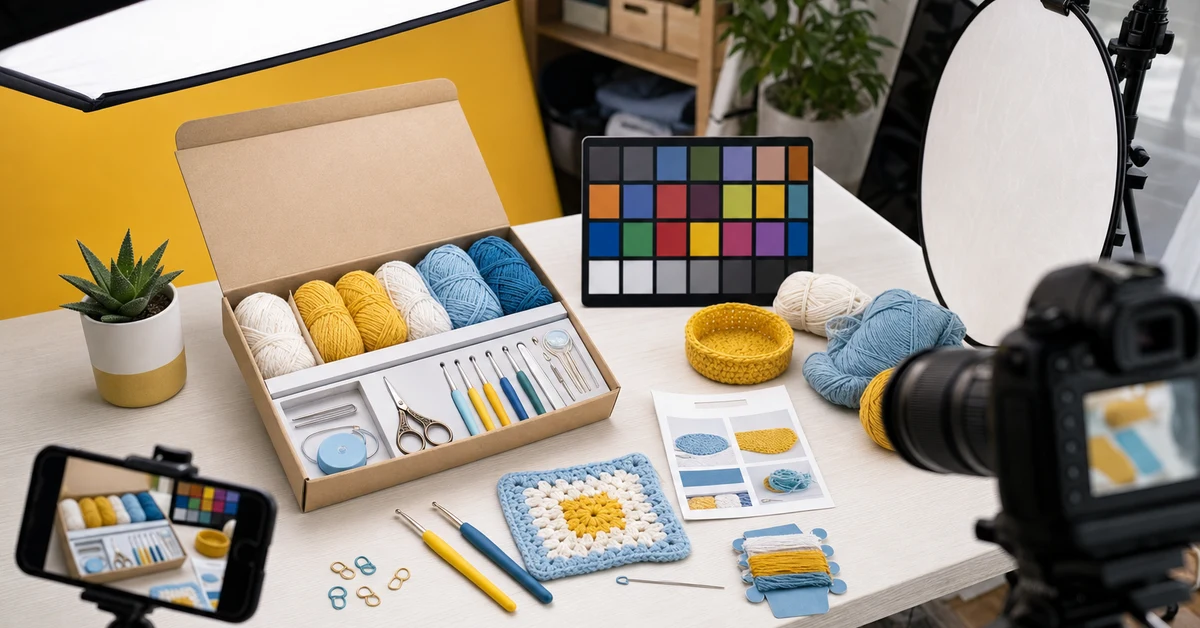
Map buyer questions to required images
Start with the product page, marketplace template or line sheet where the photographs will appear. List the questions a buyer needs answered before purchase and assign at least one image to each. This creates a shot map and prevents the session from producing many similar hero images while missing component detail or scale.
Separate consumer questions from wholesale questions. Consumers need outcome, contents, difficulty and size. Retail buyers may also need pack format, case presentation, color variants and private-label potential. The same source photography can support both audiences if the capture plan includes clean, modular assets.
| Buyer question | Best image type | Accuracy risk |
|---|---|---|
| What will I make? | Finished project hero | Showing a result not achievable from the kit |
| What is included? | Ordered component flat lay | Including props that look like contents |
| How large is it? | Scale reference or dimension view | Perspective that makes the item appear larger |
| What does the pack look like? | Front, back and open-pack views | Using outdated artwork or a mockup as production |
| Can a beginner use it? | Step detail and realistic in-progress view | Implying unsupported ease or completion time |
Build the core ecommerce sequence
A strong sequence begins with the finished result and product identity, then moves into evidence. The first image should remain readable at thumbnail size. The next images can show contents, scale, materials, process, variants and packaging. Avoid putting every claim into one crowded composite.
- Hero: finished project with the retail pack or a clearly associated kit.
- Contents: every included component arranged without unrelated props.
- Scale: product and finished project shown with a reliable reference.
- Material detail: yarn, fabric, tools and printed guidance at useful magnification.
- Process: one or two representative steps, not an expert-only transformation.
- Pack views: front, back, opening order and storage after use.
- Variant family: colors or patterns photographed under the same setup.
Separate kit contents from styling props
Props can communicate audience and setting, but they must not be mistaken for included components. Keep the main contents image clinical and complete. In lifestyle images, place non-included objects farther from the kit, use them consistently as context and clarify contents in nearby copy where the channel allows.
Count components before the session and compare the flat lay with the approved bill of materials. Show quantities honestly. If a bundle of yarn contains several small balls, the photograph should not use duplicate material to create artificial abundance. Remove prototype tools or studio accessories that will not ship.
- Photograph one verified production-representative kit.
- Use a component list during setup and final review.
- Keep props out of the primary contents image.
- Retouch dust and damage, not quantity or component identity.
Show scale without optical tricks
Use dimensions in listing copy and support them with a familiar or standardized reference. A hand can help in a process image, but hand size varies and may introduce usage rights or consistency issues. A neutral ruler, clearly stated dimensions, packaging comparison or simple scene can provide stronger evidence.
Use moderate focal lengths and avoid extreme wide-angle perspective that enlarges objects near the camera. Keep related variants at the same scale and camera distance. If the finished project is flexible, show the natural display state defined in its specification.
Control color from sample to screen
Photograph the approved physical sample under controlled lighting. Set a consistent white balance, include a color reference for production work and use a calibrated review process where available. Yarn, thread and printed packaging can respond differently to light, so compare all three in the same session.
Retouching should make the digital image represent the sample, not make the product more saturated or uniform than it is. Review critical colors on more than one ordinary device, while recognizing that no screen guarantees an exact match. If handmade or dye-lot variation is expected, use copy and imagery that communicate the reasonable boundary.
- Lock lighting and camera settings for variant families.
- Capture a neutral and color reference at the start of each setup.
- Compare edited files with the approved physical sample.
- Record the sample version and production lot photographed.
- Export channel-specific files from one controlled master.
Photograph texture and workmanship honestly
Macro images can show stitch definition, fabric grid, yarn surface, tool finish and print clarity. Select details that influence purchase or use. The lighting should reveal texture without creating harsh shadows that exaggerate flaws or hide them.
Use the actual production method. If the pack contains pre-printed fabric, show the print clearly. If a crocheted figure is handmade, show representative stitching and shaping rather than an exceptional studio sample that production cannot match. Retain the photographed sample so future teams know what the images represent.
Stage process images around real user steps
Process photographs should help the customer understand setup and progress. Choose moments such as identifying materials, mounting fabric, holding the tool or completing the first recognizable section. Use the included tools and instructions. An image that silently adds specialist equipment can create a false promise.
Do not make the project appear instant. If completion time is stated, it needs evidence from user testing rather than photographic sequence alone. Avoid showing unsafe handling of needles, scissors or other tools. For products intended for children or supervised use, align images with the approved age and safety communication.
Create one source library for every channel
Capture enough resolution and framing flexibility for marketplace squares, website landscapes, mobile crops, retailer line sheets and social posts. Leave controlled negative space in selected frames, but do not force every image into the same composition. Name files by SKU, view, version and date rather than by a vague sequence number.
Store a master, approved exports and usage notes. Record whether packaging shown is final, whether a model release exists and which markets or languages the artwork supports. This prevents old prototypes from returning to live listings after a packaging revision.
- Hero and clean pack views for product pages.
- Square and vertical crops for marketplaces and social channels.
- Transparent or neutral-background component assets for line sheets.
- Close details for zoom and wholesale review.
- Archive references tying every file to the photographed sample.
Run an accuracy review before publishing
Bring the physical sample, bill of materials, packaging artwork and final images together. A person who did not attend the shoot should verify contents, quantities, color family, scale, instructions and pack version. Check mobile crops and thumbnails because important evidence can disappear even when the master image is correct.
The final craft kit product photography checklist is an approval record, not only a creative brief. It should identify the sample, shot purpose, channel, crop, retouching boundary, approver and expiry or revision trigger. Re-photograph when changes materially affect what the customer receives.
- No non-included item appears as a kit component.
- Finished outcome is achievable from the shown contents.
- Colors and scale are reasonably representative.
- Current pack and instruction versions are visible.
- Claims, handling and user context match approved product information.
Archive the completed craft kit product photography checklist beside the approved master files. When an image is reused in a new channel, the team can confirm that its crop, claims and product version still match the offer.
Where Onehourcrafts fits
Onehourcrafts offers configurable craft kits and crocheted products across crochet, cross stitch, punch needle, amigurumi and portable repair categories. Buyers can request production-representative samples and build the shot map around the exact materials, pack and finished outcome selected for their range.
Coordinate imagery with retail packaging ideas, private-label collection planning and the guide to craft kit instructions. Use the contact page to discuss sample versions, custom packaging, assortment scope and production needs before organizing the final photography session.
Frequently asked questions
How many photos does a craft kit product page need?
Use enough images to answer outcome, contents, scale, materials, process and packaging questions. A concise evidence-led sequence is more useful than many nearly identical hero shots.
Should lifestyle props appear in the contents photo?
No. Keep the primary contents image limited to included components. Props can appear in separate lifestyle scenes when they are clearly contextual and unlikely to be mistaken for kit contents.
How can yarn and thread colors be photographed accurately?
Use controlled lighting, a color reference, a production-representative sample and a consistent editing process. Compare the final image with the physical sample and avoid decorative oversaturation.
What scale reference works best?
Combine written dimensions with a reliable visual reference or consistent pack comparison. Avoid extreme lens perspective and ensure variants are photographed at the same scale.
When should product photos be replaced?
Replace them when components, quantities, colors, package artwork, instructions or finished outcomes materially change. Archive old files so they are not reused by mistake.





