

A craft kit unboxing test checklist should observe whether a target customer can open the package, recognize the project, identify components and begin the first task without hidden coaching. The first ten minutes connect packaging, instructions, content order and product confidence. Testing this sequence before launch exposes friction that separate component inspections can miss.
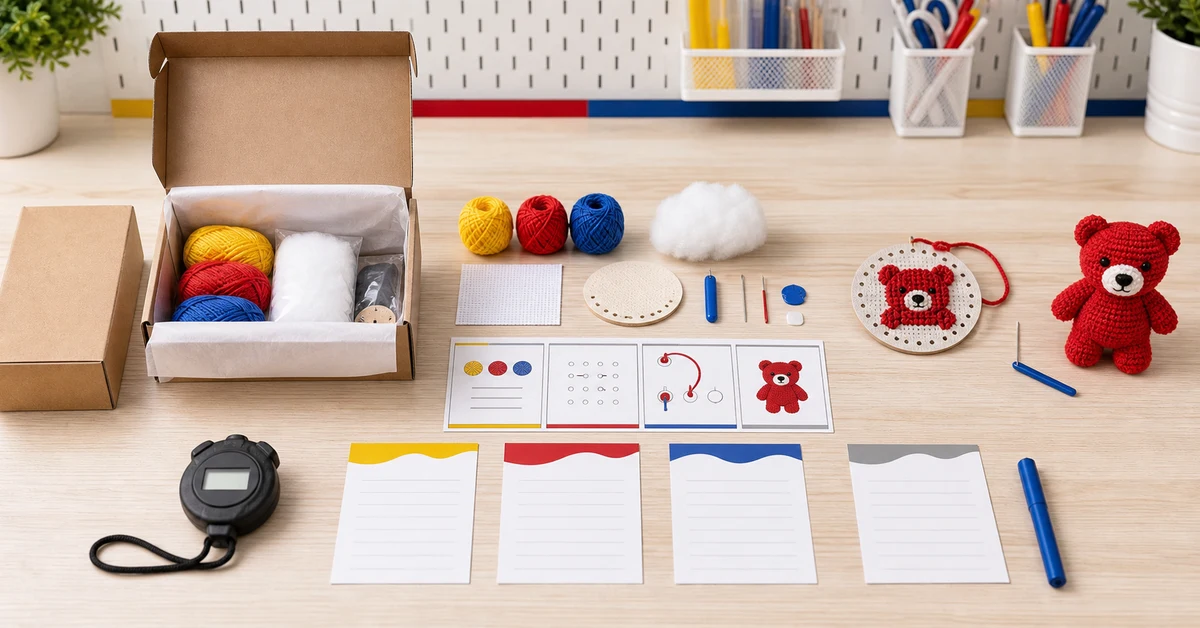
Define the first-ten-minutes outcome
State what a customer should accomplish after opening. The goal may be confirming all contents, finding the instructions, selecting the first tool and completing a setup step. Do not require meaningful craft progress if the product naturally needs preparation. The endpoint should be visible and relevant to confidence.
Write separate expectations for the customer and the product team. The customer needs a clear path. The team needs evidence about time, questions, mistakes and packaging behavior. Avoid defining success as “likes the unboxing”; preference alone does not show whether the kit is understandable.
- Package opens without unintended damage.
- Project identity and finished outcome are clear.
- Components can be recognized and counted.
- Instructions and first tool are easy to find.
- The customer completes one defined setup action.
Prepare a retail-realistic test sample
Use a fully packed sample with production-equivalent carton, closures, inserts, labels, bags, component arrangement and instructions. A hand-arranged presentation sample can create an unrealistically clean experience. Include normal manufacturing tolerances and the intended shipping configuration.
Condition the package through relevant handling before the session. Components may shift, tissue may crease and an insert may release during transport. The test should begin with the product a customer receives, not the product at the packing station. Record sample revision and any known deviation.
- Verify the complete bill of materials.
- Pack using the approved sequence and materials.
- Apply relevant transport or handling checks.
- Store the sample in normal retail orientation.
- Photograph the sealed starting condition.
Build an observation timeline
Create checkpoints for the first view, opening action, component reveal, instruction entry and initial setup. Record elapsed time without turning the session into a race. Note what the user looks at, touches, moves aside or ignores. The order of behavior often reveals more than a final questionnaire.
Observers should not explain the package. If safety or damage requires intervention, stop and record it. Otherwise, use neutral prompts only after a defined period. Distinguish spontaneous success from success after a question. A product that works only when an observer points to the instruction card has not passed independently.
| Timeline stage | Observe | Friction signal |
|---|---|---|
| First view | What product does the user expect? | Outcome or variant is misunderstood |
| Opening | Where does the user start? | Closure is hidden or destructive |
| Reveal | Can components be interpreted? | Loose parts or unclear grouping |
| Instruction entry | Is the first step found? | Booklet or QR path is overlooked |
| Setup | Is the correct tool and material selected? | Role, size or color is confused |
Observe opening force and package damage
Watch how the user removes seals, sleeves, tabs, bags and ties. Difficult opening can create frustration or lead to tools being used in an unsafe way. An easy-open feature can also fail if it releases during shipping. Record the actual grip and force path rather than asking only whether opening felt easy.
Inspect the package afterward. If it is meant to store work in progress, confirm that opening does not tear important flaps, labels or organizers. If the pack is single-use, it should still release components without spilling or damaging them. Check sharp edges, loose fasteners and small pieces under the appropriate product and market review.
Test whether the reveal explains the system
The first component view should help users understand what belongs together. Compare the physical arrangement with the contents image and instruction list. Similar colors, tool sizes or tiny accessories may need separation or an organizer. Decorative presentation should not hide a required part beneath materials the user is not ready to remove.
Ask users to set aside what they believe is needed first. Record incorrect choices and pieces they cannot name. Do not require technical vocabulary if a visual role is enough, but the instructions and package should use consistent names. If a component is intentionally reserved for later, give it a stable storage position.
- First-use group is visible and complete.
- Similar components are distinguishable.
- Small items do not disappear into packing material.
- Contents image matches the physical arrangement.
- Later-stage parts remain protected and organized.
Check the instruction entry point
Observe whether the user finds the booklet, card, QR code or digital landing page naturally. The first instruction should confirm the kit version and show what to prepare. Avoid beginning with brand storytelling that delays a necessary setup. Put essential warnings and requirements where they are seen before the relevant action.
Test digital access on ordinary phones and connections. The printed path should remain useful if a camera does not recognize the code immediately. Make language selection clear and confirm that the destination matches the current product revision. A dead or generic link can make an otherwise organized package feel incomplete.
| Entry-point check | Pass condition | Risk |
|---|---|---|
| Visibility | User notices instructions without searching deeply | Card is hidden or resembles filler |
| Version match | Images and components agree | Old media or booklet remains in pack |
| First action | Setup begins with a clear component set | Story or legal copy obscures entry |
| Digital access | Link opens the correct language and product | Generic page or broken redirect |
Watch the first component decision
Many early failures happen when the customer selects the wrong hook, needle, yarn color, thread bundle or fabric side. The instruction should connect a physical feature to the first action. Test whether users can make the choice without comparing tiny differences that are visible only under studio lighting.
Use color, position, size labels or organizer roles consistently. If a tool has a printed size, confirm that the marking is readable before use. If the first material is removed from a bundle, the remaining contents should stay identified. Correct setup should not destroy the organization needed for later stages.
Record friction without solving it during the session
Use a simple log for action, delay, question, wrong choice, recovery and outcome. Note the product feature that contributed, but separate observation from diagnosis until review. An observer may assume that the user ignored a label when the real problem is low contrast or unclear terminology.
This is where the craft kit unboxing test checklist becomes a development tool. Rank issues by customer impact and frequency. A one-second pause may be harmless; a wrong tool choice that affects the finished project is more serious. Fix the product, pack or instructions at the source instead of adding multiple new warnings around a weak design.
| Friction type | Example | Likely owner |
|---|---|---|
| Access | User cannot open or find the entry | Packaging |
| Recognition | Component role is unclear | Product and content |
| Sequence | User removes later parts first | Pack architecture |
| Instruction | First action lacks a visible checkpoint | Editorial and product |
| Recovery | User cannot return parts or restart | Packaging and instructions |
Test pack recovery and work-in-progress storage
After the first setup, ask the user to pause and put the project away as intended. Can loose tools, yarn and small components return to stable positions? Does the carton close with the work in progress? If the package is not reusable, state what storage solution the customer is expected to provide.
Inspect tangles, bent tools, lost labels and spilled parts. A pack can create an excellent initial reveal and fail during the second session. Test repeated open-close cycles where storage is part of the product promise. Do not assume the original component layout remains practical after yarn, fabric or stuffing has been opened.
- Space for partially used materials.
- Secure storage for sharp or small tools.
- Preserved color and component identification.
- Protection for completed work sections.
- Closure after realistic repacking.
Compare user groups without averaging away risk
Include participants near the intended skill level and, where relevant, gift buyers who may inspect the product before giving it. Experienced makers can reveal efficiency issues, but they may compensate for unclear instructions. Beginners reveal recognition and recovery problems. Record groups separately before looking for common patterns.
Run enough sessions to see repeated behavior, not to manufacture a universal statistic. If one user encounters a severe failure, investigate it even when others succeed. Accessibility, language and market expectations may require additional reviews beyond the basic product test.
Freeze an approved unboxing standard
Keep photographs of the sealed pack, layer sequence, first reveal, first-use group and work-in-progress return. Link the packaging revision to the component list and instructions. Define measurable checks for orientation, count, placement and access instead of relying only on an attractive golden sample.
Trigger reapproval when the carton, insert, seal, component order, instructions, QR destination, tools, yarn presentation or variant structure changes. A small packaging adjustment can move the instruction card below the wrong layer or let a required part shift out of view.
Where Onehourcrafts fits
The Onehourcrafts product collection includes different DIY kit categories with distinct component and setup paths. Buyers can use a craft kit unboxing test checklist to review a production-equivalent pack before bulk approval.
Coordinate the test with the retail packaging guide, instruction development process, missing-parts controls and ecommerce listing checklist. Send the product concept, target user, pack structure, first-use goal and order assumptions through the contact page. Safety, accessibility, labeling and market-specific requirements need separate confirmation.
Frequently asked questions
How many minutes should an unboxing test cover?
Ten minutes is a practical starting window for opening, recognition and first setup, but the endpoint should match the product. Continue longer when meaningful setup naturally requires it.
Should observers answer customer questions during the test?
Not during the independent observation period. Record questions and use a neutral prompt only under a predefined rule, unless intervention is required for safety or damage.
Can a display sample be used for unboxing testing?
Use a production-equivalent packed sample. Hand-arranged display samples may not reproduce closures, shifting, tolerances or the real component sequence.
What is the most important unboxing checkpoint?
The customer should identify the correct first action and components without losing the organization needed later. This connects packaging, instructions and product design.
When should the unboxing test be repeated?
Repeat relevant sessions after changes to packaging, component order, instructions, digital links, variants, tools, material presentation or shipping configuration.





