

A craft kit ecommerce listing checklist should connect every customer-facing statement to an approved product fact, image or instruction. A useful listing does more than name the craft and show a finished result. It explains what arrives, who the project suits, what the customer will make and which expectations have been verified before the page goes live.
Start with a buyer-question matrix
List the decisions a customer must make without touching the product. Typical questions concern the finished item, included components, difficulty, dimensions, materials, time, tools, color and packaging. Add questions from customer service, wholesale buyers and marketplace reviews when those sources are available. The matrix becomes the information architecture for the page.
Prioritize questions by purchase impact. A decorative story may support the brand, but uncertainty about whether a hook is included can stop the sale or cause a return. Answer essential compatibility and contents questions near the top. Place detailed techniques and care notes farther down or in expandable sections without hiding critical limitations.
| Buyer question | Best evidence | Listing location |
|---|---|---|
| What will I make? | Approved finished sample | Hero image and title |
| What is included? | Component list and layout photo | Gallery and contents section |
| Can I complete it? | User test and skill definition | Summary and difficulty block |
| How large is it? | Measured product and scale image | Specifications and gallery |
| What else do I need? | Instruction and tool review | Requirements note |
Freeze one source of product truth
Create a controlled product sheet before writing copy. Include the approved title, SKU or version, contents, materials, quantities, dimensions, color names, tool sizes, finished result and packaging. Mark which facts vary by option. The website, marketplace feed, packaging and customer-service answers should draw from the same record.
Assign owners and revision dates. A product photographer should not invent component names, and a copywriter should not infer safety or material claims from appearance. When sampling changes the kit, update the source sheet first, then identify every downstream asset that needs revision. This reduces the risk of one channel continuing to sell an obsolete configuration.
- Approved product name and variant structure.
- Complete component inventory and quantities.
- Materials and relevant composition details.
- Tool sizes, fabric sizes and finished dimensions.
- Skill level, required techniques and external needs.
- Packaging, labeling and current revision status.
Write the title around the literal product
Lead with what the item is, not only an emotional concept. Include the craft type, project or outcome and a meaningful differentiator when accurate. Keep option names consistent with the selector. Avoid packing the title with every possible keyword or using descriptors that the product evidence does not support.
The short description should answer the purchase in a few sentences: what the customer makes, what the kit provides and who it is designed for. State important exclusions nearby. If scissors, glue, a frame or another common tool is not included, say so before a customer assumes otherwise. Clear limits can improve conversion quality even when they reduce impulse clicks.
Build an image sequence that proves the offer
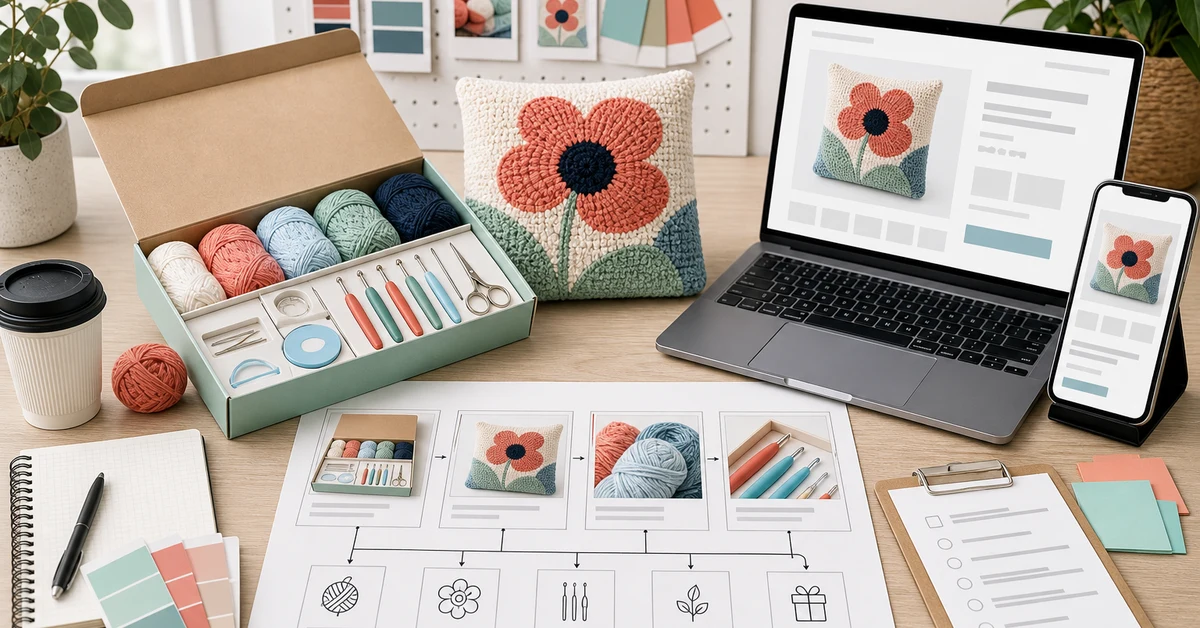
The gallery should move from outcome to evidence. Use an accurate hero image of the finished project, then show all components, scale, texture, packaging and key process moments. Keep colors consistent with the physical sample and do not add props that could be mistaken for included contents. If multiple finished items are pictured, clarify whether the kit makes one or several.
Plan mobile crops. A wide flat lay that works on desktop may make tools too small to identify on a phone. Use close-ups for important texture or component details and add scale through a ruler, hand or familiar context only when it is accurate and appropriate. Image text should not carry essential information that disappears in accessibility tools or localization.
- Finished result and clear product identity.
- Complete component layout with no misleading props.
- Scale or measured dimensions.
- Material, stitch or texture close-up.
- Packaging and gift-ready presentation where relevant.
- Representative process image or instruction preview.
Describe contents with countable language
Replace vague phrases such as everything you need with an explicit list. Name yarn colors or total quantity where useful, tool sizes, fabric, needle types, stuffing, accessories and instructions. Separate included components from required household items. For assortments, explain whether colors are fixed, selectable or subject to an approved variation.
Align the copy with pack-out control. The list should be detailed enough that customer service and quality inspectors recognize the same product. If one line groups several small components, keep a more detailed internal bill of materials. Update listing counts after changes; adding a decorative accessory or replacing a tool can alter the product promise even if the project is unchanged.
| Weak wording | Better listing approach | Evidence needed |
|---|---|---|
| Premium yarn | Name the approved fiber or useful performance | Material specification |
| All tools included | List each included tool and size | Component record |
| Easy for everyone | State required skills and support | User trial |
| Makes a large project | Provide measured finished dimensions | Approved sample |
| Eco-friendly packaging | Use a specific, supportable statement | Packaging documentation |
Define skill level from observable tasks
Beginner, intermediate and advanced labels are interpreted differently across sellers. List the tasks the customer must perform: reading a chart, making a magic ring, threading a needle, changing color, assembling parts or finishing a backing. State which skills are taught and which are assumed. Mention the support format, such as printed instructions, diagrams or a video link, only if it is included and maintained.
Use target-user testing to validate the label. Completion by an expert developer does not prove beginner suitability. Record where testers stop, which terms confuse them and whether the included tools are manageable. A realistic difficulty statement sets expectations and helps the right customer select the product.
- Techniques required before starting.
- Techniques taught inside the kit.
- Approximate project scope without promising one completion time.
- Age positioning supported by product review and market needs.
- Support materials included with the current version.
Use specifications that answer comparison questions
Add data that helps customers compare options: finished dimensions, package dimensions when relevant, material, primary colors, tool size, fabric count or other product-specific measures. Avoid filling the section with internal codes that mean nothing to buyers. Use one unit system consistently and add conversions where the sales market needs them.
Clarify what each dimension describes. Finished handmade size can vary, so provide an approved target and a reasonable note instead of false precision. Distinguish the finished item from package size, hoop size or fabric cut. If color appearance can vary across screens or material lots, state the limitation without using it to excuse an uncontrolled match.
Review claims and prohibited assumptions
Every performance, safety, sustainability, origin or suitability claim needs support appropriate to the market. Do not convert a supplier phrase into a stronger consumer promise. Terms such as non-toxic, hypoallergenic, child-safe, biodegradable or certified require careful review and evidence. If the evidence does not support the wording, narrow or remove it.
Check marketplace rules, local labeling needs and product-specific obligations before launch. This article is a content workflow, not legal advice. Keep the final claim list with its source documents and expiry or revision information. When a material or factory changes, review affected claims again.
| Claim type | Approval question | Common risk |
|---|---|---|
| Material | Does the stated composition match the product? | Generic family name used as exact composition |
| Performance | Was the result tested under relevant conditions? | One sample presented as universal |
| Skill suitability | Did target users complete the project? | Developer judgment only |
| Sustainability | Is the wording specific and documented? | Broad environmental implication |
| Safety or age | Was the intended market reviewed? | Unsupported universal statement |
Connect variants, inventory and fulfillment
Variant selectors must match real differences. If customers choose color, pattern or size, show the correct images, contents and identifiers for each option. Do not let one attractive gallery imply that every variant includes the same shades or finished project. Test the default selection and unavailable combinations.
Confirm SKU mapping, stock status, price, shipping weight and package dimensions with operations. A content page can be accurate while the wrong warehouse item is linked to the selector. Place a real test order in a staging or controlled environment where possible and compare the received item with the listing approval record.
Run a mobile preflight and contradiction audit
This is where the craft kit ecommerce listing checklist becomes a launch gate. Review the page on desktop and mobile, then search for contradictions across title, images, bullets, specifications, FAQ, packaging and option labels. Ask a reviewer who was not part of development to answer the original buyer-question matrix using only the page.
Check that important content appears before excessive scrolling, buttons and selectors work, images remain legible and alternative text describes the product. Validate links to instructions, videos or policies. Remove placeholder copy and outdated promotional language. Archive the approved page capture or content export with the product revision.
- Verify product identity, variant and price relationship.
- Compare every included component with the approved kit.
- Confirm images show the correct revision and color.
- Review skill level, dimensions and external requirements.
- Check claims, spelling, units, links and mobile display.
- Run an independent buyer-question review before launch.
Use post-launch questions as controlled feedback
Monitor questions, returns and reviews for repeated uncertainty. A recurring question about tool inclusion signals a content gap even if the answer exists low on the page. Update the controlled source and all required channels, then record the change. Do not patch one marketplace description while leaving the main website and packaging inconsistent.
Distinguish listing problems from product problems. Better copy cannot solve missing parts, poor instructions or inaccurate color. Route the evidence to the correct owner and retest the product when needed. The listing should become clearer over time without promising beyond what the physical kit can deliver.
Where Onehourcrafts fits
The Onehourcrafts product collection shows different DIY kit and crocheted product categories that can require distinct content fields. Retail buyers can prepare the question matrix, component proof and channel requirements while a product configuration is being sampled.
Use this craft kit ecommerce listing checklist with the product photography checklist, instruction guide, skill-level guide and retail packaging ideas. Send the product concept, component list, target channel, option structure and content needs through the contact page. Final claims, labeling and channel compliance remain the seller's responsibility.
Frequently asked questions
What should appear near the top of a craft kit listing?
Show the literal product, finished result, key contents, target skill level and any important requirement or exclusion. Customers should understand the offer before reading detailed background.
How many product images does a craft kit need?
Use enough images to prove outcome, complete contents, scale, material detail and packaging. The required count depends on complexity; each image should answer a real buyer question.
Should a listing promise a completion time?
Use caution because pace varies by experience and project conditions. Describe project scope or tested ranges only when the method and audience are clear, and avoid presenting one maker's time as universal.
How should tools that are not included be shown?
State them clearly in a requirements section and avoid placing them in photos where they could be mistaken for included contents, unless the caption makes their role unambiguous.
When should the listing be reviewed again?
Review it after changes to components, materials, instructions, images, variants, packaging, claims, price structure or marketplace requirements, and when customer feedback reveals repeated confusion.





