

An amigurumi size specification guide should define the finished object through dimensions, proportions, construction references and measurable tolerances. Overall height alone cannot control a soft crocheted product. Yarn tension, stitch count, stuffing, assembly and shaping can change width, posture and visual character even when the item reaches the requested height.
Choose the product's measurement state
State how the product is positioned when measured. A seated character, standing doll and floppy animal can produce different readings depending on whether limbs are extended, compressed or naturally resting. Define a stable surface, orientation and light handling method. Avoid pulling the product into shape simply to pass a dimension.
Photograph the measurement setup beside the golden sample. Mark the base point, top point and any support used. For characters with ears, hats or hair, decide whether these features are included in overall height and also record the main body dimension separately.
- Natural resting position or defined display posture.
- Overall height, body height and maximum width.
- Features included or excluded from each measurement.
- Condition before measurement, such as unpacking and recovery time.
Build a measurement map
Draw front, side and back views of the approved sample and place dimension points on them. The map should capture the measurements that affect identity, function, packaging and customer expectation. For a simple animal, these may include head width, body height, seated depth, ear length, limb length and eye spacing.
Do not measure every stitch. Too many dimensions make inspection slow and may create contradictory requirements. Separate critical identity dimensions from informative references. Eye spacing or head-to-body ratio may be more visually important than a small variation at the widest part of a rounded foot.
| Dimension type | Why it matters | Typical control |
|---|---|---|
| Overall envelope | Packaging, listing and assortment scale | Height, width and depth range |
| Character proportion | Recognition and visual appeal | Head/body and feature spacing ratios |
| Assembly position | Posture and symmetry | Reference points and angle photos |
| Functional fit | Clothing, accessory or display compatibility | Interface measurements and trial fit |
Use ratios to protect character identity
A rounded head may vary slightly in millimeters while still looking correct if its ratio to the body remains stable. Record a few character-defining relationships: head width to body width, eye spacing to face width, ear length to head height, or arm position relative to the torso. Ratios help inspectors understand why two pieces with similar overall height can look different.
Pair numbers with approved front and side photographs. Soft products are interpreted visually, so a dimensional pass should not override an obvious posture or expression failure. The opposite is also true: an attractive isolated sample should not justify a size that no longer fits the package or assortment.
Control stitch count and yarn as upstream variables
Finished dimensions are affected by stitch count, yarn construction, hook, maker tension and finishing. Lock the pattern revision and record the proposed yarn and hook system. If yarn is substituted, repeat the relevant body sections and compare dimensions before approving bulk production.
Count-based controls are useful at defined construction points. For example, the maximum head round or the number of body rows can be checked before assembly. These controls find drift earlier than measuring the completed product, but they should remain connected to the physical golden sample.
- Confirm pattern revision and material references.
- Measure key panels or shapes before stuffing.
- Record stuffing mass and distribution method.
- Assemble using defined placement points.
- Condition the product, then measure the final envelope.
Specify stuffing by outcome and process
Stuffing changes both size and personality. Too little may create wrinkles, weak posture or visible hollows. Too much can stretch stitches, expose filling and distort facial placement. A simple mass target is helpful, but distribution and compression matter as well.
Use a representative scale to record total filling and, where necessary, allocation by major part. Define the desired firmness with physical reference samples and clear photographs. Inspect for lumps, hard spots and asymmetry. If the product will be compressed in packaging, test recovery after a realistic period before finalizing dimensions and pack size.
Set tolerances from process evidence
Do not choose a tolerance only because it looks neat on a specification sheet. Measure a pilot run made with intended materials and methods. Review the natural spread, then decide which variation is acceptable to customers and compatible with packaging. A tolerance that the process cannot hold will create constant exceptions; one that is too broad may allow visible inconsistency.
Use tighter control for critical fit or identity features and wider ranges for soft contours that do not change appearance. State whether tolerances are bilateral and whether several small deviations can combine into an unacceptable shape. Define escalation rules for pieces near the limits.
- Critical: safety, required fit or essential product identity.
- Major: visible size, posture or assortment inconsistency.
- Minor: limited soft-shape variation without functional effect.
- Reference: recorded for learning but not a stand-alone rejection point.
Run a silhouette and lineup test
Photograph samples as black or grayscale silhouettes at the same scale. This removes distraction from color and embroidery and makes width, posture and limb position easier to compare. Then place several units in a lineup beside the golden sample and view them from a normal retail distance.
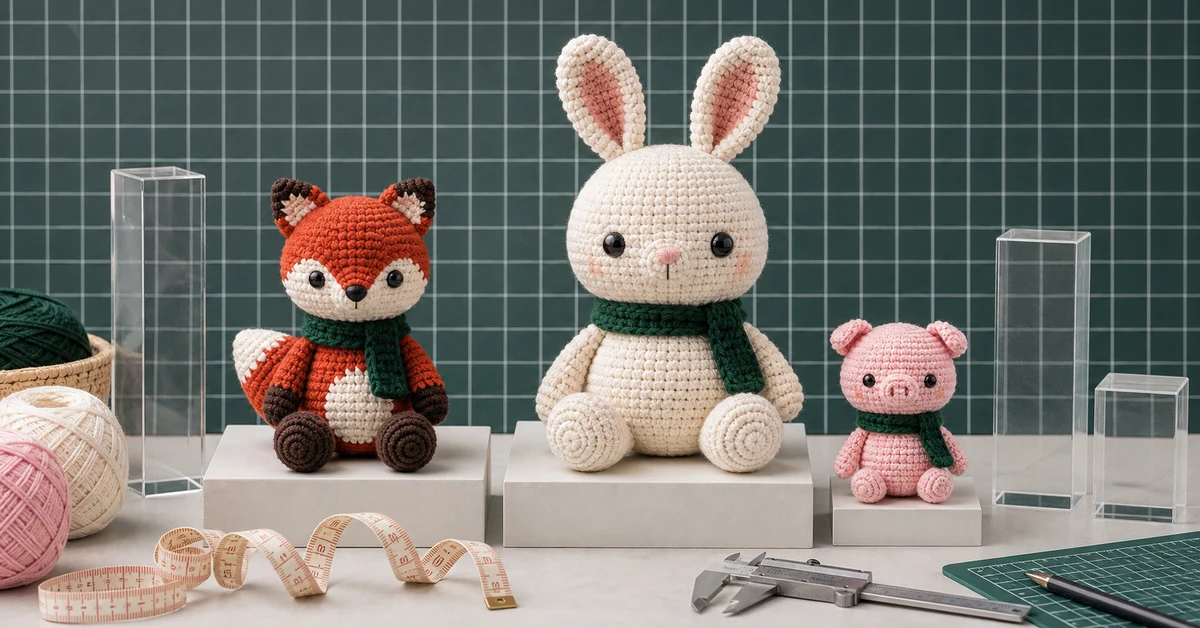
For a multi-SKU collection, line up all characters together. Check whether intended size differences remain clear and whether one SKU appears accidentally undersized or overstuffed. This is especially useful when products share a package format or are sold as a collectible series.
Approve packaging after dimensional recovery
Test the final product in its intended bag, box or display. Confirm that features are not permanently bent, that the product can be removed without damage and that it returns to the approved posture. Measure the product after unpacking according to the specified recovery time.
Photography and listing dimensions should reflect the approved measurement state. If a feature is flexible or the handmade process creates a reasonable range, describe dimensions accurately rather than presenting false precision. Market-specific labeling, age grading and compliance requirements must be assessed separately.
Freeze the golden-sample file
The final amigurumi size specification guide should include the signed golden sample, measurement map, dimension table, ratio controls, material references, pattern version, stuffing record, photographs and packaging-recovery result. Identify which item governs if a number and photograph appear to conflict.
Retain pilot-run measurements so future orders can be compared with actual process capability. If yarn, hook, maker method, filling or packaging changes, reopen the affected controls instead of treating the first approval as permanent.
- Golden sample identification and storage condition.
- Measurement method with front, side and posture photographs.
- Critical dimensions, ratios and accepted ranges.
- Pattern, yarn, hook, stuffing and packaging references.
Use a dimensional change-control card
Create a short card for every requested revision. State the reason, affected pattern sections, material or process changes and dimensions that must be rechecked. Photograph the new sample beside the current golden sample at the same scale. This prevents a change intended to solve one issue, such as increasing head firmness, from silently altering eye spacing, neck position or package fit.
The card should record whether the revision replaces the golden sample, creates a new SKU or is rejected. For collections, note whether the change affects the lineup relationship with other characters. Use the amigurumi size specification guide as the baseline and reopen only the necessary controls, while still checking for combined visual effects.
- Revision request, owner and decision date.
- Affected pattern, yarn, hook, filling or assembly inputs.
- Dimensions and proportions repeated after the change.
- Packaging, photography and collection files needing updates.
Where Onehourcrafts fits
The Onehourcrafts OEM amigurumi manufacturing page describes custom character development, color and size adjustments, consistent shaping and color matching. Buyers can provide the measurement map and golden-sample controls when discussing custom development.
Use the guide to evaluating amigurumi quality, the custom crochet sampling process and the amigurumi retail buyer guide as supporting references. Submit drawings, target dimensions, materials, pack concept and estimated volume through the contact page. Final product claims and destination requirements still need formal review.
Frequently asked questions
Is overall height enough to specify an amigurumi product?
No. Add width, depth, posture, key feature spacing and character-defining proportions. State how flexible ears, hats or limbs are positioned during measurement.
How should a soft crocheted item be measured?
Use a defined resting position, stable surface and light handling method. Photograph the setup and avoid stretching or compressing the product simply to reach a target dimension.
How are realistic tolerances established?
Measure a pilot run made with intended materials and methods, then compare natural variation with visual, packaging and functional needs. Use tighter limits only where the feature genuinely requires them.
Why record stuffing mass?
Stuffing affects firmness, size, stitch gaps, posture and feature placement. Mass data supports consistency, but it should be combined with distribution method and physical firmness references.
What changes require size reapproval?
Changes to pattern, yarn, hook, tension method, stuffing, assembly positions or compressive packaging can affect size and proportions. Repeat the relevant dimensional and visual tests.





