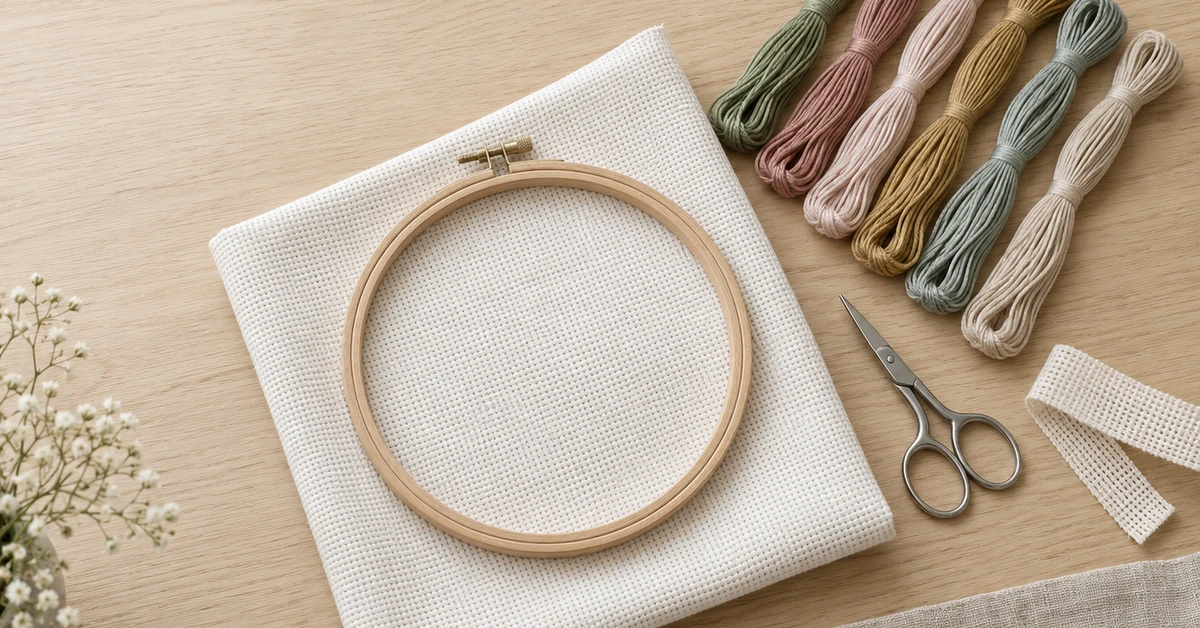

Most cross stitch starter kits are judged on one evening. If the buyer has to leave the house, order a missing hoop or guess a fabric count before the first stitch, the kit has failed regardless of how good the design is. Onehourcrafts approaches the assortment as a completeness ledger: every item the first session needs, plus an honest note for anything deliberately left out.
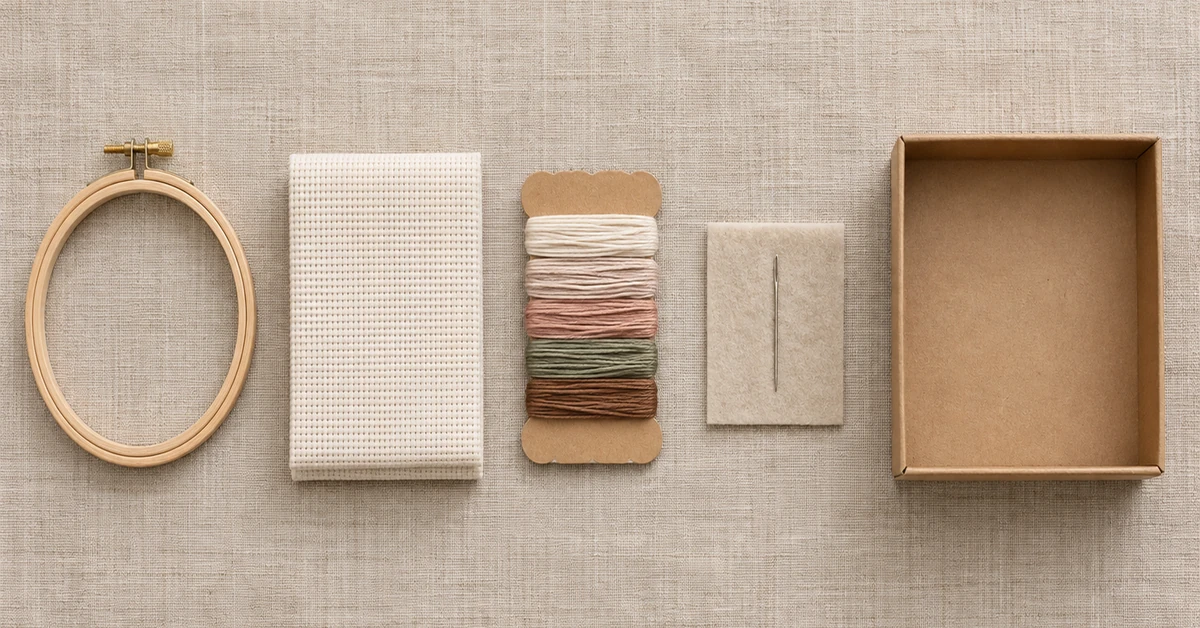
A starter kit is a completeness promise
The word starter sets an expectation that the customer will not go shopping again before they begin. That expectation is the product. Treat it as a specification with a pass or fail result rather than as a marketing word.
Write the promise in one sentence and keep it next to the parts list. If the sentence and the list disagree, the sentence is the one customers will remember and the list is the one they will complain about.
| Promise | Test | Result |
|---|---|---|
| Begin tonight | Open the box only | Pass or fail |
| Everything counted | Recount against chart | Pass or fail |
| No extra purchase | Check hoop and needle | Pass or fail |
Build the first-evening ledger
Sit with an opened kit and list everything touched between opening the box and completing the first ten stitches. That list, not the Bill of Materials, is the ledger that matters.
Include the smaller items that are easy to forget: a needle threader, a small pair of scissors or snips, a thread organiser and something to mark the chart. Each omission is a reason the first evening stops early.
- Fabric cut to size
- Needle in the stated size
- Sorted floss
- Chart with a marked start
- Threader or snips where relevant
Decide what is deliberately excluded
Some kits should not include a hoop, a frame or a display stand, and that can be the right commercial decision. The problem is silence, not exclusion.
Name the excluded items on the front panel rather than in a footnote. A customer who knows they need to add a hoop is making a plan; a customer who discovers it mid-evening is making a complaint.
| Excluded item | Disclose on | Buyer action |
|---|---|---|
| Hoop or frame | Front panel | Add before purchase |
| Scissors | Side panel | Use household pair |
| Frame for display | Finished-size note | Choose separately |
Make the fabric count visible before the first stitch
Counted fabric is the most common source of quiet disappointment. A customer who expected a larger finished piece will not read the chart closely enough to discover the truth afterwards.
Print the fabric count next to the finished dimensions and show both on the photographic reference. Where the same design ships on two counts, give each its own code so a reorder cannot drift between them.
| Field | Why it matters | Where it appears |
|---|---|---|
| Fabric count | Sets finished scale | Front panel |
| Cut size | Fits a hoop | Pack back |
| Finished size | Expectation | Beside the photo |
Show the needle in the right size, not a mixed pack
A mixed needle pack looks generous and behaves badly. Beginners cannot tell which needle matches the fabric count, and a blunt or oversized needle damages the weave before the design is recognisable.
Supply the one size the chart was written for and name it on the pack. If the assortment needs a second size for a different count, treat it as a separate SKU rather than a bonus inside the same bag.
- One stated needle size
- Named on the pack
- Spare included once
- Separate SKU for other counts
Prove the floss quantity against the chart
Floss shortfall is invisible until the last few stitches of a colour, which is precisely when a beginner is least able to improvise. Length per colour should be checked against the stitched sample, not estimated from the artwork.
Record the measured length, the working margin and the supplier for each shade. When a substitute thread is proposed later, the record shows whether the margin can absorb the change.
| Colour | Measured length | Margin |
|---|---|---|
| Main shade | Recorded | Stated |
| Accent shade | Recorded | Stated |
| Backstitch shade | Recorded | Stated |
Write the chart so a beginner can start alone
The chart carries the evening. If the start point, the centre line or the legend is ambiguous, the customer will stop and search for a tutorial video, and the kit becomes a research project.
Mark the centre, print the symbol key at a readable size and keep the colour blocks visually distinct. Check legibility under ordinary room light rather than on a design monitor.
- Mark the centre
- Print a readable legend
- Separate similar symbols
- Add a one-line start cue
Check the hoop or frame decision
When a hoop is included, its size has to suit the fabric cut as well as the design. A hoop that pinches the stitching area produces a finished piece with a permanent crease.
When a hoop is excluded, state the size the customer should look for. That single number prevents an unnecessary return and gives the retailer a companion item to suggest.
| Decision | Check | Note |
|---|---|---|
| Hoop included | Fits cut size | Crease risk |
| Hoop excluded | Size advised | Companion sale |
Test the pack with somebody who has never stitched
Give an unopened kit to a person with no cross stitch experience and ask them to begin without help. Record how long it takes them to find the centre, the first colour and the first stitch.
Do not correct them during the test. A kit that only works after a verbal explanation has not been tested at all.
- No help given
- Time to first stitch
- Questions recorded
- Stopping point noted
Price the completeness, not the component list
Comparisons between starter kits are usually made on the number of items. That comparison rewards padding and punishes honesty, which is why the price should be anchored to the finished evening instead.
Track which kit step the customer picks and what they ask before choosing. A short question list often shows that the more complete kit was worth a higher price all along.
| Signal | Record | Read |
|---|---|---|
| Chosen step | Price band | Value anchor |
| Question asked | Exact words | Missing proof |
| Return | Stated reason | Ledger gap |
Let the outside of the pack answer four questions
A shopper holding the kit should be able to answer four things without opening it: what it becomes, how long the first session is, what is inside and what is not.
Keep those four answers together in one block. Scattering them across the front, the back and an inserted leaflet guarantees that at least one will be missed.
- What it becomes
- First session length
- What is inside
- What is not included
Keep starter kits separate from advanced assortments
A beginner who accidentally buys an advanced chart will blame the kit, not the shelf. Physical separation is a service, not a restriction.
Use a distinct panel treatment for the starter family and place it at a reachable height. Reserve the detailed charts for a clearly different zone so the decision stays simple.
- Distinct starter panel
- Reachable shelf height
- Separate advanced zone
Write the RFQ as a first-evening contract
A precise inquiry lists the ledger items, the fabric count options, the needle size, the measured floss margins, the chart format and the excluded items. It asks for a production-intent sample with a photographed first-evening test.
Use the buying-guide library for the buying context, the embroidery collection for related needlework products, and the GS1 barcode guidance to keep pack identity scannable. Where the quote crosses a border, the ICC Incoterms 2020 rules give a neutral way to frame delivery questions.
| RFQ block | Request | Owner |
|---|---|---|
| Ledger | Item list with counts | Product |
| Chart | Start cue and legend | Design |
| Exclusions | Named items | Brand |
| Packing | Carton identification | Operations |
How Onehourcrafts keeps the starter honest
Onehourcrafts can assemble the ledger, the fabric specification, the measured thread margins and the packing identity into a single approval file, so a buyer can see exactly which promise is being made and how it will be checked.
Before approving the range, ask for an opened sample, a written exclusion list and a timed first-evening test. The cross stitch starter kits decision is done when a complete beginner can reach the tenth stitch without leaving the table.
- Opened sample
- Exclusion list
- Timed first evening
- Packing identity
The final cross stitch starter kits brief should hold beginner cross stitch kits wholesale step logic, the wholesale crochet kits comparison the buyer used elsewhere and the cross stitch kit manufacturer route in one record. Keep that record linked from the company home so the commercial context stays visible.
Frequently asked questions
What must a starter kit contain?
Everything the first evening needs: cut fabric, the correct needle, measured floss, a readable chart with a start cue, and small tools where the design requires them.
Should a hoop always be included?
No. Excluding a hoop can be correct, but the front panel should name the size the customer needs to add.
How do you prove floss quantity?
Measure length per colour against the stitched sample and record the margin, rather than estimating from the artwork.
Why avoid mixed needle packs?
Beginners cannot match a needle to a fabric count, and the wrong size damages the weave before the design is recognisable.
Where should the fabric count appear?
Next to the finished dimensions on the front panel, with the cut size noted on the back.
How long should the first evening take?
Short enough to reach visible progress. Time the test rather than assuming, and publish the reading as a cue.
What is the best way to test a starter kit?
Give it unopened to someone with no experience, offer no help, and record the time to the first stitch and every question asked.
How should starter kits be merchandised?
In a visually distinct starter zone at a reachable height, kept apart from detailed chart assortments.
What belongs in the RFQ?
The ledger list, fabric counts, needle size, measured thread margins, chart format, excluded items and carton identification.
Why keep an opened sample?
It allows a later change of fabric, thread or chart to be compared against the original first-evening test.