

A crochet kit gauge swatch guide should connect a measured stitch sample to the approved yarn, hook, pattern and finished dimensions. Gauge is not only a maker preference. In a retail kit, it determines whether fixed accessories fit, yarn quantities remain sufficient and customers obtain the result shown on the package.
Define the finished-size promise
Start with the dimensions and behavior the project must deliver. Record height, width, depth, circumference or drape at named landmarks. Identify fixed interfaces such as eyes, frames, bases, handles, stuffing volumes and package cavities. A small gauge difference can multiply across repeated rows and change several component relationships.
Decide which dimensions are critical and which can vary naturally. Handmade products need a realistic acceptance window, not false precision. State whether the kit teaches the user to match gauge or whether the design is intentionally tolerant enough to proceed without adjustment.
- Target finished dimensions and allowed range.
- Critical accessory and assembly interfaces.
- Required firmness, drape or coverage.
- Expected user skill and tension variation.
- Yarn reserve and package constraints.
Freeze the swatch conditions
Use production-equivalent yarn and hooks, the main stitch construction and the same preparation described in the instructions. Record yarn lot, hook dimensions, operator, stitch count, row count and whether the sample was blocked, washed or rested. A swatch made with substitute yarn cannot approve the production system.
Make the sample large enough to measure away from edges and starting chains. Edge tension can misrepresent the center fabric. If the project works in rounds, include a round-based sample because turning rows may behave differently.
| Condition | Control | Risk if missing |
|---|---|---|
| Yarn | Approved construction and lot reference | Length and elasticity differ |
| Hook | Measured production candidate | Marked size hides profile variation |
| Stitch | Actual project construction | Generic swatch predicts poorly |
| Resting | Defined time and treatment | Fresh fabric changes later |
| Measurement | Named area and light contact | Operator compresses sample |
Create a hook-and-tension ladder
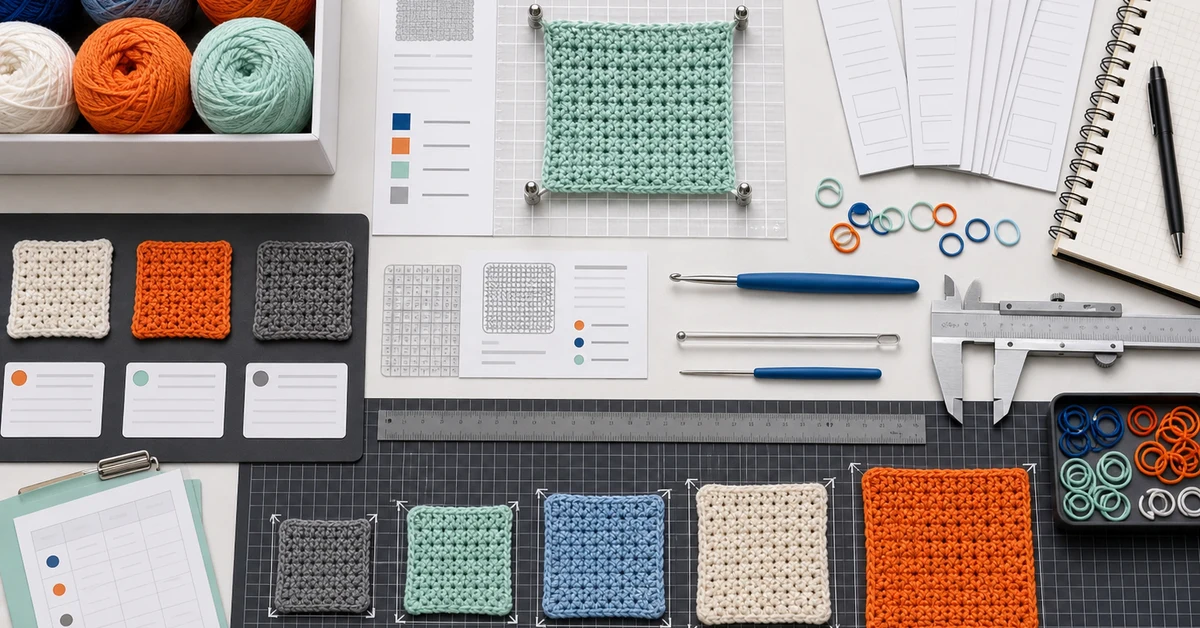
Make adjacent samples with the proposed hook and neighboring sizes, then add samples from makers with different natural tension. Keep other variables constant. Measure stitches and rows across the same area, overall mass, thickness and visible gaps. Photograph samples together under one scale.
The middle hook is not automatically correct. A smaller tool can improve coverage while increasing hand effort and consumption. A larger tool may improve drape but expose stuffing or change shape. Choose the usable window from the complete project requirement.
- Prepare yarn from the same approved source.
- Make equal samples with coded hook candidates.
- Rest them under identical conditions.
- Measure center stitch and row gauge.
- Score fabric behavior and user effort.
Measure stitches, rows and fabric behavior
Count complete stitches across a defined width and rows across a defined height. Measure more than one location when construction is uneven. Do not stretch or flatten the fabric into the target. Record thickness, edge curl, stiffness and recovery because equal counts can still produce different handling.
Use row gauge where vertical size matters. Teams often control stitch width and overlook height, then discover that body length, limb position or pattern repeats drift. For shaped projects, compare dimensions after representative increases and decreases.
| Signal | Gauge may be tight | Gauge may be loose |
|---|---|---|
| Coverage | Dense, compressed surface | Open gaps or visible filling |
| Dimensions | Project trends small | Project trends large |
| Hand effort | Difficult insertion and fatigue | Low control and uneven loops |
| Consumption | More yarn per compact area | Larger area may increase total use |
Translate gauge into project checkpoints
A separate square is useful during development, but many beginners will not want to make a formal swatch for a small kit. Add early project checkpoints where possible: the diameter after a set round, width after a row block or size before assembly. These checks turn gauge into an action the customer can understand.
Explain what to do when a checkpoint is outside range. Changing hook size, adjusting tension or restarting may be appropriate, but the recovery path must match the kit design. If no reasonable correction exists, redesign the pattern tolerance or included tool system.
- Checkpoint appears before substantial work.
- Measurement landmarks are visible.
- Target range allows handmade variation.
- Correction instructions are specific.
- Later components still fit after correction.
Connect gauge with yarn quantity
Complete full prototypes at the accepted tight and loose boundaries. Measure per-color consumption and finished dimensions. A customer can remain within the checkpoint range and still use more yarn than the expert sample. The supplied reserve should cover the approved user window.
Do not reduce yarn based only on the nominal gauge sample. Include joins, tails, practice and correction. Recalculate after changes to hook, yarn, pattern repeats or finished size.
Run target-user trials
Give coded tools and instructions to several users near the intended level. Observe how they interpret the checkpoint, measure fabric and respond to an out-of-range result. Record completion, size, consumption and questions without coaching them toward the target.
This is where the crochet kit gauge swatch guide becomes a usability control. If many users miss the window, the kit may need a more forgiving stitch, clearer measurement image, different hook or revised difficulty position.
| Trial result | Interpretation | Response |
|---|---|---|
| Most samples are too small | System encourages tight work | Review hook, yarn and instruction cues |
| Counts match but shape differs | Row gauge or shaping is unstable | Add another checkpoint |
| Users cannot measure | Landmarks are unclear | Improve diagram or included tool |
| Yarn runs low within range | Allowance is insufficient | Increase quantity or narrow the window |
Freeze the gauge specification
Record stitch and row ranges, sample dimensions, approved yarn and hook, resting treatment, critical project checkpoints and accepted boundary prototypes. Keep physical swatches protected and dated. Define how supplier substitutions trigger retesting.
Production inspection can verify yarn and hook, but gauge remains a system result. Review it again when material, tool, pattern, size or instruction changes. Do not carry the result to another project merely because the same yarn is used.
Challenge the boundary conditions
Test the darkest yarn, tightest shaping, smallest accessory and densest stitch section. Repeat after realistic storage and handling. If the project is washed or blocked, validate the change and communicate it clearly. A robust standard explains what passed at the edges, not only the attractive center sample.
Confirm measurement agreement between reviewers
Give the same rested swatches to several reviewers and ask them to measure without seeing previous results. Compare where they place the ruler, how they identify complete stitches and whether they flatten curled edges. Large differences indicate that the measurement instruction is not specific enough.
Create photographs showing the approved measurement window and ruler position. For textured stitches, state which repeated feature counts as one stitch or row. If the fabric cannot lie naturally flat, use a support method that does not stretch it and document that method.
Check the measuring tool included in the kit when customers are expected to use it. A short flexible tape, rigid ruler and printed paper scale can produce different behavior. Printing accuracy, edge damage and unit conversions also matter. Keep internal development measurements more precise than the simplified customer checkpoint, but make sure both describe the same acceptable range.
Repeat the agreement check after translations or layout changes. A measurement arrow moved during artwork adaptation can point to another row or edge. Review the printed instruction beside the physical sample and confirm that an unfamiliar user selects the intended landmarks without verbal explanation.
Record these checks in the final approval file so later artwork revisions can be compared against the same physical reference.
- Named start and end landmarks.
- Light-contact handling method.
- Accepted difference between repeat measurements.
- Photographic example of a pass result.
- Action when reviewers disagree.
Where Onehourcrafts fits
The Onehourcrafts crochet DIY kit page describes customizable yarn, hooks, patterns and packaging. Buyers can bring a crochet kit gauge swatch guide, boundary samples and checkpoint plan into product sampling.
Coordinate the work with the hook size guide, yarn selection guide, yarn quantity calculation and sampling process. Send the pattern, target dimensions, yarn, tool and user assumptions through the contact page. Final product and market requirements still need written confirmation.
Frequently asked questions
Does every crochet kit need a separate gauge swatch?
Not always. Small tolerant projects can use an early project checkpoint, but development should still validate the gauge window with controlled samples.
Should stitch gauge and row gauge both be measured?
Yes when width and height affect the finished result. Row gauge is especially important for repeated sections, placement and overall length.
Can customers fix gauge by changing hook size?
Often, but the instructions should explain when and how. Confirm that the alternative still works with the yarn, project and included tool plan.
How many swatches are needed during development?
Use enough adjacent hooks and maker tensions to show the accepted window and failure boundaries. Then confirm with full prototypes.
When should gauge be reapproved?
Reapprove after changes to yarn, hook, stitch construction, pattern dimensions, treatment, instructions or any fixed component that depends on size.





