

If you are deciding how to write craft kit instructions, begin with the user's actions rather than the writer's outline. Map what a beginner must identify, do, check and recover from between opening the package and finishing the project. Then test an early manual with representative users before artwork and packaging are locked.
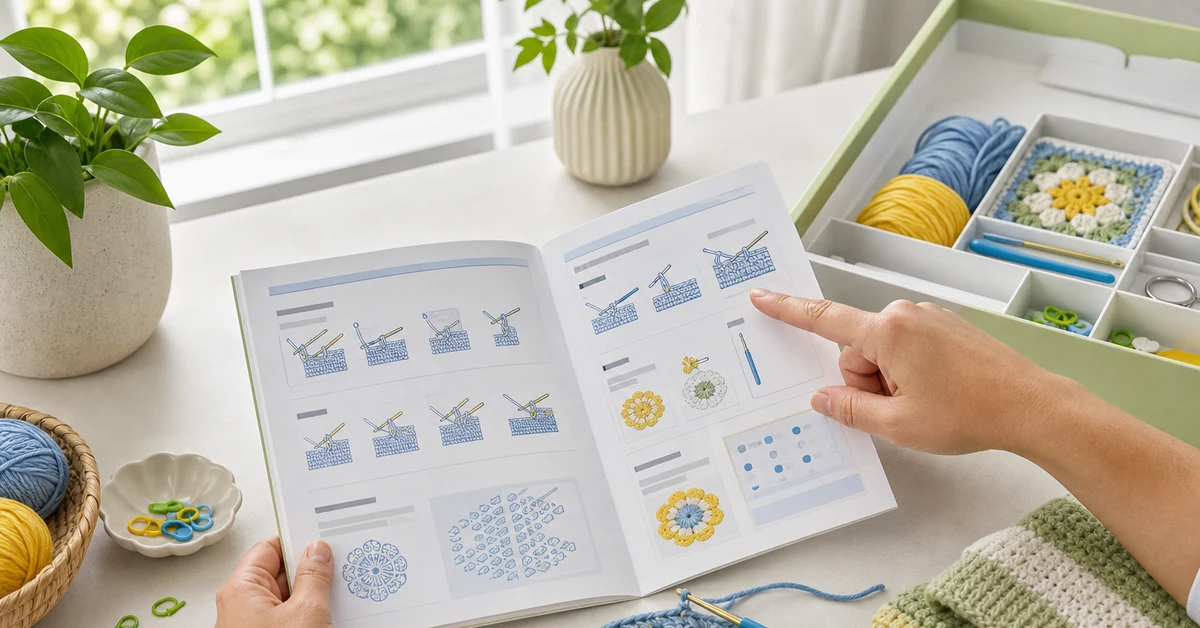
A technically correct instruction can still fail. The user may not recognize a component, understand a symbol, notice a direction change or know whether an intermediate result looks right. When that happens, the problem is not always a lack of motivation. It is often a missing decision aid at the moment the user needs it.
Map the five moments in the user journey
Instead of starting with page one, describe the experience as five jobs:
- Orient: understand what the project is, what the finished result should look like and how much uninterrupted attention it may require.
- Identify: match every supplied component to a name, image, size or color reference.
- Start: complete the first meaningful action without needing outside help.
- Recover: recognize common mistakes and return to a known-good state.
- Finish: complete assembly, finishing and care steps with a result close to the promised example.
Each job needs different information. An inventory image helps identification but does not explain technique. A technique diagram helps execution but may not show whether the work has drifted. A final photograph motivates the user but cannot replace checkpoints.
Design the manual as a decision system
A useful instruction manual normally contains several layers that readers can enter at different points:
- Project promise: finished view, dimensions or practical outcome.
- Before-you-start panel: required skills, setup, workspace and optional items not included.
- Kit inventory: named images or swatches that match the packed components.
- Technique library: short explanations for unfamiliar actions used later.
- Numbered build sequence: one meaningful action per step.
- Checkpoints: intermediate shapes, counts, orientation or dimensions.
- Recovery notes: likely mistakes, visible symptoms and correction steps.
- Finishing and care: assembly, trimming, storage or use guidance.
Do not force every explanation into the main sequence. Keep the working path short, and move definitions or optional detail into clearly labeled support panels. The reader should always know which action is next.
Prototype before investing in final artwork
Use a low-cost prototype first. Plain pages with rough diagrams are enough to test order, terminology and missing information. Final illustration can make instructions easier to scan, but it cannot repair a sequence that asks the user to make an unstated assumption.
Prepare the prototype with the actual component names and colors planned for production. If the manual says "blue yarn" while the kit contains two similar blues, the ambiguity must be fixed in the product system, not hidden by better prose.
Run a task-based usability session
Give a representative user the kit and prototype without coaching. Ask the person to think aloud only when comfortable, then observe behavior. The purpose is not to test whether the user can follow verbal hints from the product team. It is to see whether the package and manual are sufficient on their own.
Record events rather than impressions:
| Observed event | Likely information gap | Possible design response |
|---|---|---|
| User opens several bags before starting | Inventory and step preparation are unclear | Add a parts map and stage components by step |
| User repeats a paragraph three times | Action and explanation are mixed | Separate the command from the reason |
| User continues after an early error | No visible checkpoint | Add a count, shape or orientation check |
| User searches online for a technique | Technique support is incomplete | Add a concise diagram or verified tutorial link |
| User cannot identify the cause of a bad result | Recovery guidance is missing | Show the symptom and the correction path |
Test more than one user profile when the kit serves different channels. A workshop participant may receive instructor help, while an eCommerce customer may work alone. A translated edition may create different terminology or layout problems from the source-language version.
Write steps that can be verified
Each step should contain four elements when relevant: the action, the object, the result and a check. For example, "Insert the hook through the next loop, draw the working yarn through, then confirm that two loops remain on the hook." The check tells the user whether it is safe to continue.
Avoid vague sequencing words such as "repeat as before" when the prior action contains several choices. Name the exact step range, count or condition. Use the same term for the same component throughout the manual, package and tutorial.
Use diagrams for spatial decisions
Images are most useful when direction, orientation, position or comparison matters. Show the hand or tool only when it helps explain the action. Crop tightly enough to make the relevant movement visible, but include a wider checkpoint image when the user must understand overall shape.
Do not rely on color alone to distinguish components or paths. Combine color with labels, line styles, shapes or position. Keep symbol meanings stable. If a diagram uses arrows for movement, do not reuse the same arrow style to mean measurement or attention.
Plan localization as product work
Translation is not the final step of writing. It can change line length, page flow, labels and references between text and diagrams. Create a terminology list before translation and provide the translator with product images, component samples and intended audience information.
After layout, review each language edition against the physical kit. Confirm that colors, quantities, component names, page references, units and warnings still match. Keep revision identifiers so customer service and the supplier can determine which manual was packed into a production lot.
Separate skill guidance from safety information
Beginner-friendly does not automatically mean suitable for every age or user. Skill difficulty describes the techniques and decisions required to complete the project. Safety suitability depends on the product, components, intended users and destination-market rules.
For example, the U.S. Consumer Product Safety Commission provides specific business guidance for small parts in toys and children's products. Do not replace required warnings, testing or professional compliance review with a general skill label. The craft product compliance decision guide explains the broader responsibility map.
Create a release gate for every revision
Before approving the manual, verify:
- The inventory matches the approved bill of materials and sample.
- The first action can be completed without verbal help.
- Every unfamiliar technique has an explanation or support path.
- Critical counts, orientation changes and assembly points have checkpoints.
- Common errors include a recovery instruction.
- Language editions match the same product revision.
- Safety and regulatory content has the appropriate review.
Keep the test notes with the product record. They show why a change was made and prevent a later artwork edit from reintroducing an old problem.
Design the support handoff before launch
A manual cannot anticipate every question, so define what happens when the user still needs help. Add a stable support route that matches the channel: retailer contact, brand support page, verified video library or product-specific help form. The support team should be able to identify the kit revision and see the same component master used by production.
Tag questions by step and symptom. If many users ask how to identify one yarn, repair one stitch or attach one component, the issue belongs in the next manual revision. This is another practical part of how to write craft kit instructions: support data should improve the product instead of remaining an isolated inbox.
When a tutorial link is printed or encoded in the package, test that the destination is durable, mobile-readable and specific to the correct revision. Avoid sending beginners to a broad channel where they must search for the relevant technique.
Where Onehourcrafts fits
Onehourcrafts supports custom crochet DIY kits with instruction manuals, branding inserts, component customization and retail packaging. Instruction development works best when it is connected to the physical kit, sample revisions and packing standard rather than managed as a separate design file.
Buyers planning a new range can use the custom sampling process, private-label sourcing guide and packaging specification guide to align the manual with the product launch.
Final takeaway
The best answer to how to write craft kit instructions is to treat the manual as part of the product experience. Draft around user decisions, test the sequence with the real components, add checkpoints and recovery paths, and release each language version against the approved kit. Polished pages matter, but observable completion matters more.
Frequently asked questions
What should a craft kit instruction manual include?
Include the finished-project promise, kit inventory, required skills, technique support, numbered steps, checkpoints, troubleshooting, finishing guidance and any required safety information.
Should instructions be written before or after sampling?
Create a rough version early, but finalize it with the approved sample. Component changes, colors, dimensions and assembly decisions can make an early manual inaccurate.
How can a brand test beginner instructions?
Observe representative beginners using the physical kit without coaching. Log where they hesitate, choose the wrong component, miss an error or seek outside help, then revise and test again.
Are photos better than diagrams?
Use the format that explains the decision most clearly. Diagrams can simplify direction and hidden structure; photos can show real texture, component appearance and intermediate results.
How should instruction translations be approved?
Use a controlled terminology list, review the translated layout against the physical kit, verify all labels and references, and keep a revision identifier for each language edition.





