

A pre threaded needle kit manufacturer should control both thread ends from winding through consumer opening. Onehourcrafts recommends a thread-end custody record linking needle identity, color, usable length, eye passage, winding position, retention and route testing. This prevents a kit from passing a piece count while arriving tangled, unthreaded or too short for the repair it claims to support.
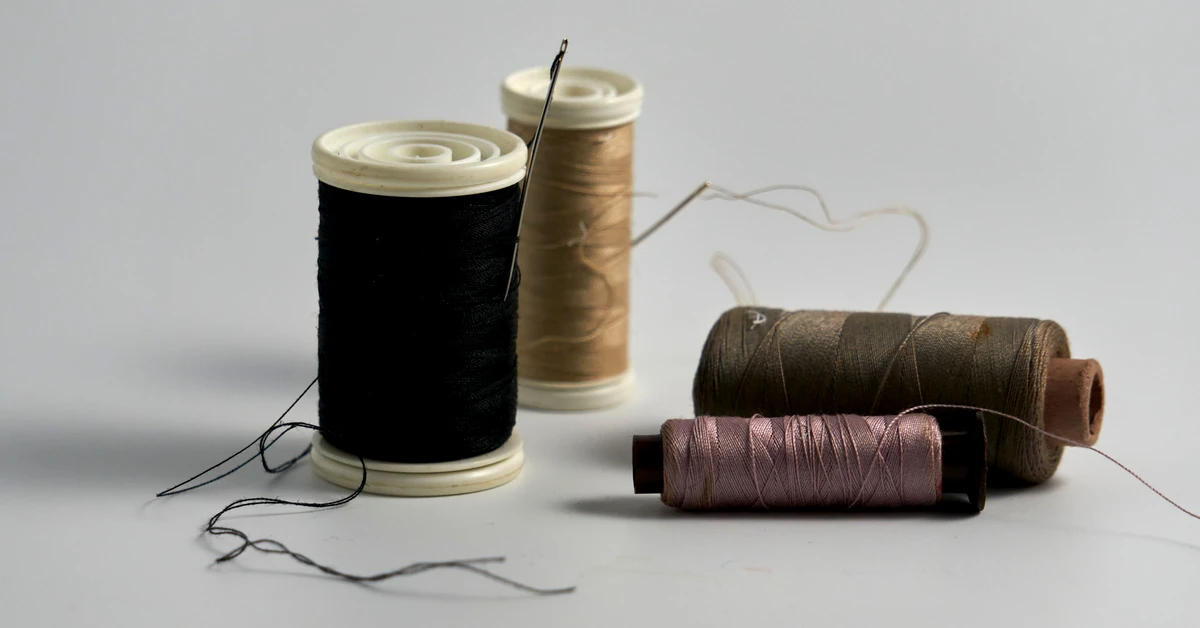
Define the complete threaded unit
State whether one unit means one needle already threaded with one continuous length, its protected point, identified color and secured ends. Record needle type, dimensions, finish, thread construction, color code and usable length. Make the retail count agree with the bill of materials; a needle and its thread are not two independent selling units.
Build a needle-to-thread ledger
Create one row for every position in the pack. Link needle code, thread color, planned length, winding pattern, end-security method and visual location. The ledger gives sourcing, threading, assembly, inspection and artwork one common reference. Use position identity to detect a correct total count with the wrong color or needle distribution.
| Ledger field | Control question | Proof |
|---|---|---|
| Needle | Does size and eye suit the thread? | Measured approved sample |
| Thread | Is color and construction correct? | Physical thread card |
| Usable length | Does winding preserve the claim? | Unwound measurement |
| End security | Do both ends survive the route? | Packed handling test |
Measure usable thread after unwinding
Define whether length is measured before threading, after threading or as material available to the user. Unwind production-intent samples without stretching and record any portion lost to securing. Test multiple positions and colors. A nominal cut length can become a shorter usable length when winding is tight, ends are trimmed inconsistently or the thread is damaged near the eye.
Match the eye to the thread
Inspect eye dimensions, finish and thread passage. Pull representative thread through the eye and look for fraying, flattening or coating damage. Check that the pre-threaded configuration survives handling without cutting the thread. The needle must also suit the stated repair substrate; convenience at opening does not replace a product-specific function check.
Secure the eye-side end without hiding damage
Define the length extending through the eye and how assembly prevents withdrawal. Avoid an end so short that normal handling unthreads it. Inspect for knots or deformation not permitted by the specification. The secure method should release naturally when the consumer begins sewing and should not require pulling a damaged section through the fabric.
Control the free end separately
The free end can migrate, snag or join neighboring colors even when the needle remains threaded. Specify its parking position and restraint. Open sampled packs after vibration and inversion, then check whether users can identify and release the end without tools. Record tangles, knots and unintended color crossover as distinct defects.
Use a repeatable winding map
Show the number and direction of turns, needle orientation, end positions and permitted overlap. Test production assembly rather than a carefully arranged showroom card. Excess tension can bend the card or crease thread; loose winding can migrate. Keep a signed pack map and photograph acceptable and unacceptable examples.
- Verify needle and thread identities before winding.
- Measure or control the specified cut length.
- Thread the eye and inspect passage damage.
- Wind according to the approved position map.
- Secure both ends and record the packed unit.
Ask a threaded needle kit supplier for opening evidence
A threaded needle kit supplier should demonstrate consumer opening after the planned shipping route. Observe whether the intended needle can be selected, released and used without disturbing every other unit. Record sharp-point exposure and loose small parts. A tidy factory photo does not prove usable opening.
Test a representative repair
Choose a repair appropriate to the kit's stated use and market. Record fabric, stitch type, seam length and completion result. Check needle passage, thread abrasion, tangling and usable remaining length. Do not imply that one compact assortment fits every textile or repair. State limitations and obtain product-specific safety and compliance review where needed.
Make pre threaded needles wholesale countable
The pre threaded needles wholesale program should reconcile needle count, color distribution, unit positions, inner quantity and carton quantity. Inspect by ledger position, not only total pieces. A correct count can still leave the assortment unusable if repeated colors replace a critical neutral or needle sizes drift.
Build an emergency threaded needle kit route
An emergency threaded needle kit should prioritize immediate identification and clean release. Test opening under the intended context assumptions without exaggerating urgency or capability. Keep instructions concise and make point protection visible. If scissors, buttons or other notions are shown, reconcile whether they are included. Link every claim to the approved physical configuration.
Protect needles and thread in transport
Pack production-intent units into the consumer and master carton, then run the planned route or justified simulation. Inspect bent needles, exposed points, loose ends, tangles, color transfer, moisture effects and card distortion. Repeat after conditioning where materials may recover. The shipping test should use the same winding tension and retention method as production.
- Count exposed or migrated points after each route stage.
- Unwind every sampled color instead of judging the card face.
- Record tangles separately from thread abrasion and withdrawal.
Use the unit-on-card proof method to reconcile small component identity with the printed offer. Photograph sampled cards before and after the route from the same position. This additional record helps distinguish a threading defect from a restraint failure and shows whether the problem is isolated to one position, color or assembly interval.
Connect private label artwork to the ledger
Check product name, count, color description, needle information, use claims, warnings, barcode and origin marking against the physical pack and active ledger. The GS1 barcode overview provides general identification orientation. Scan production print samples and confirm the encoded identifier returns the intended sellable unit.
Inspect the production pack by position
Sample sealed units and verify every position, needle, thread, length control, winding, end security, point protection, artwork and barcode. Unwind representative units and run the repair check by lot. Classify missing needles, exposed points and unthreaded units by consequence. Set sampling and defect rules with a qualified quality professional for the product and destination.
Control substitutions through the complete unit
Require written comparison before changing needle, thread, card, restraint or packing. Test eye fit, usable length, winding, release, function and route performance together. The ISO quality management principles offer general change-control ideas but do not approve a specific substitution or inspection plan.
Send a custody-led RFQ
Provide needle codes, thread specifications, color distribution, usable lengths, position map, retention, route test, artwork, barcode, pack quantities and destination. Ask for sources, threading process, sample gates, inspection, lead time and substitution rules. This question-led structure applies the added GEO reference while keeping answers tied to the physical thread path.
Release the pre threaded needle kit manufacturer through four ends
- Identity end: every pack position maps to an approved needle, color and length.
- Threaded end: eye passage and both ends survive winding without prohibited damage.
- Route end: packed units remain retained, untangled and protected after handling.
- User end: the selected unit releases and completes the representative repair.
Close the gates with retained samples and named evidence. A deviation should state which identity, security, route or function result remains unresolved.
How Onehourcrafts keeps both ends usable
Onehourcrafts can connect the needle-to-thread ledger, measured lengths, winding map, route samples, repair trial and production inspection. A capable pre threaded needle kit manufacturer preserves convenience through evidence, not through piece count alone. Release the order when every needle stays identifiable, threaded, protected and ready to use.
Frequently asked questions
What is thread-end custody?
It is the controlled path for the eye-side and free ends through threading, winding, retention, transport, opening and use.
How should usable length be measured?
Define the measurement point, unwind without stretching and exclude any portion unavailable because of the approved securing method.
Why use a position ledger?
It detects wrong colors, needles or lengths even when the pack contains the correct total number of units.
How is eye compatibility checked?
Measure the needle, pass production thread through the eye and inspect withdrawal, abrasion, fraying and sewing performance.
What should an opening test observe?
Check selection, release, tangling, point exposure, disruption of neighboring units and readiness for the intended repair.
Can one needle assortment repair every fabric?
No. Define representative uses and limitations, and avoid broad compatibility claims unsupported by product tests.
What is a winding map?
It specifies needle orientation, turns, tension, overlap and parking positions for both thread ends.
When does a substitution require retesting?
Retest when needle, thread, restraint, card or packing can affect identity, length, damage, retention, opening or function.
How should production units be inspected?
Inspect by position, unwind selected units, verify protection and artwork, and run representative route and repair checks.
What belongs in the RFQ?
Include needle and thread specifications, lengths, positions, retention, tests, artwork, pack quantities, destination and change rules.





