

Retail ready embroidery kits succeed when a shopper can recognize the craft, understand the project, verify the contents and trust the pack within about 30 seconds. Onehourcrafts uses this short shelf clock as a design review: each five-second interval has a specific job. The method converts vague requests for “strong shelf appeal” into observable information, protection and replenishment decisions that buyers can approve before production.
Second 0 to 5: identify the craft
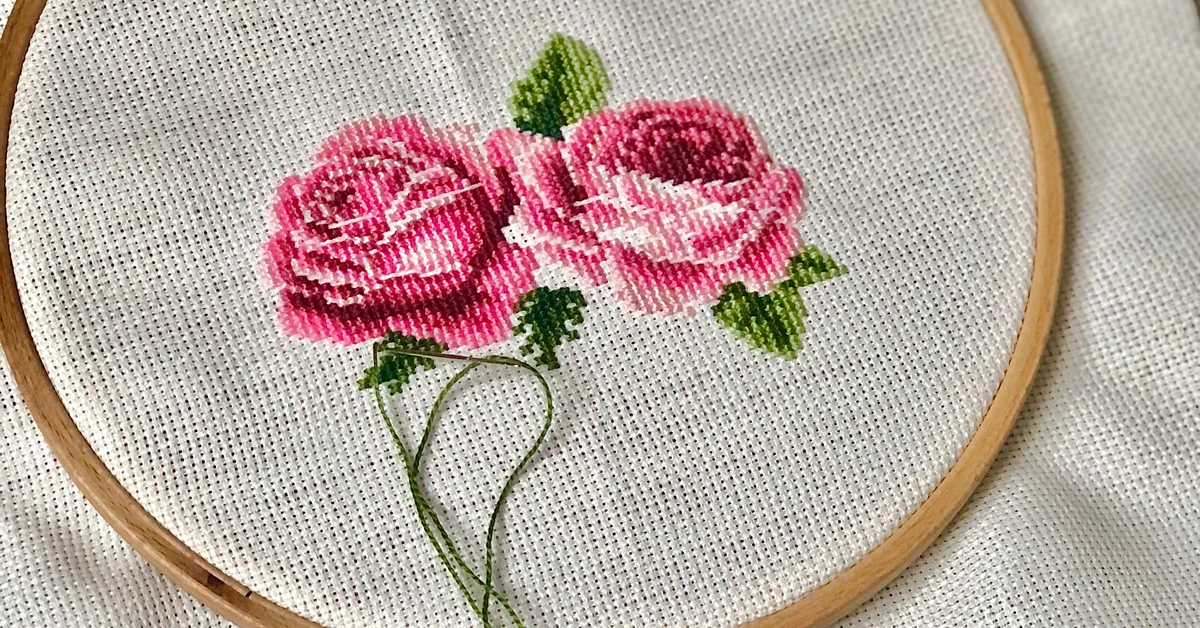
The first glance should answer “What is this?” from normal aisle distance. Use a finished-project image or a clear view of the stitched result, then name the activity in plain language. Decorative branding can support recognition but should not compete with it. If a shopper mistakes the box for loose thread, a general art set or a finished ornament, later details will not rescue the sale.
- Show the completed design at a useful scale.
- Use an activity name that can be read without picking up the pack.
- Keep glare away from the main result image.
- Reserve small badges for information that changes the decision.
Second 5 to 10: state the project promise
Now communicate what the maker will complete: a hoop display, patch, pouch panel or other defined object. Specify size and approximate format instead of using only emotional phrases. A promise should be exciting but defensible. “Create a 15 cm floral hoop” is clearer than “Make something beautiful,” and it gives the buyer an anchor for checking material quantities.
Second 10 to 15: reveal the contents
A shopper should not need to infer whether the hoop, needle or thread is included. Put the contents list where it can be found quickly and use counts where ambiguity matters. The list on the package, the bill of materials and the assembly instruction must agree. For range planning, the embroidery product overview shows how kits, hoops and related components can be organized into a coherent offer.
| Content claim | Useful wording | Weak wording |
|---|---|---|
| Thread | Six labeled cotton-color bundles | Colorful threads |
| Needles | Two embroidery needles in a holder | Needle included |
| Fabric | Preprinted cotton panel, 22 × 22 cm | Fabric piece |
| Instruction | Illustrated booklet plus QR support | Easy guide |
Second 15 to 20: prove the skill fit
Difficulty labels need evidence. Define which stitches appear, whether the fabric is preprinted, how many steps are taught and what prior skill is assumed. A beginner symbol is useful only when the first ten minutes have been tested with beginners. Buyers planning embroidery craft kits for adults can map projects along a visible skill curve instead of applying the same “easy” badge to every design.
- Observe first-time users opening the pack without coaching.
- Time how long they take to identify the first stitch.
- Record each point where they reverse a step or ask for help.
- Revise the instruction, then repeat with new participants.
Second 20 to 25: justify the price
Value becomes visible through the finished result, material quality, reusable tools and thoughtful support. Avoid filling the front panel with every claim. Select two or three reasons that distinguish the kit at its intended price tier, and place technical detail elsewhere. A window can help, but it should reveal organized, color-accurate contents rather than a compressed tangle.
Second 25 to 30: close the information gap
The final interval is for size, age or skill guidance, care, origin, responsible-party information, barcode and retailer-specific data. Some details live on the back or side, yet their placement must remain predictable. The FTC textile and wool labeling guidance is a relevant starting point for products sold in the United States; buyers should confirm which rules actually apply to their materials and market rather than treating a general guide as legal approval.
Give the pack two reading distances
Design for roughly one meter and for the hand. From farther away, the shopper needs craft, project and visual distinction. In hand, they need contents, difficulty, finished dimensions and purchase details. Print a full-size proof and place it beside competing products. A desktop zoom does not reproduce shelf glare, neighboring color or the speed of real scanning.
- Distance layer: project image, craft name and range color.
- Hand layer: contents, skill evidence, dimensions and support.
- Retail layer: barcode, price zone, hang orientation and case data.
Build the shelf clock into custom packaging
Custom packaging embroidery kits should begin with a dieline that marks the primary face, hang direction, glue zones, window limits and legally reserved areas. Create a content hierarchy before styling. Then test the hierarchy in grayscale; if the reading order disappears without color, the structure is too dependent on decoration.
Packaging material also affects the promise. A thin box may bow and make a premium project look incomplete. An oversized box can imply more contents than the buyer receives. Match board strength, inserts and volume to the actual kit, distribution route and shelf fixture.
Make component protection visible to the buyer
Needles require secure custody, thread should remain sorted and printed fabric should not acquire permanent creases. Use a needle holder that is obvious during opening and closing. Separate abrasive or pointed parts from printed surfaces. Run vibration, drop and compression checks on fully packed units, then open them in the intended sequence. Damage and opening frustration both count as pack failure.
| Pack zone | Protection job | Proof |
|---|---|---|
| Needle holder | Retain and signal sharp components | Count before and after transit test |
| Thread organizer | Preserve labels and prevent tangles | Opening observation and color audit |
| Fabric fold | Avoid print transfer and hard creases | Conditioned unpack inspection |
| Outer box | Resist crushing and shelf distortion | Compression and fixture trial |
Plan embroidery kits for craft stores as a range
A single attractive SKU can disappear in a busy store. Build a range with deliberate visual family cues, distinct project outcomes and controlled difficulty steps. Use spine or side-panel identification because many stores cannot display every face forward. Ask whether each design earns its place through subject, price, season, skill or format rather than adding variants that only change color.
Connect the 30-second promise to replenishment
Retail readiness continues behind the shelf. Case labels, SKU records, barcode verification, pack quantity and reorder information must match the consumer unit. Define which design names and thumbnail images appear in wholesale materials so staff can reorder without opening cases. For seasonal timing, use the planning stages in the seasonal embroidery kit calendar to work backward from delivery rather than artwork completion. The ISO quality management principles are also a useful general reference for evidence-based and process-focused controls, though they do not prove the quality of a specific kit.
Use a low MOQ route without losing control
A low MOQ embroidery kit supplier may combine stock components with custom printed materials to reduce commitment. That can be sensible for testing a design, but it does not remove minimums at every layer. Ask separately about thread color, printed fabric, booklet, box, label and master-carton constraints. Approve the route that protects the central project promise, even if a secondary detail uses a standardized option.
- Separate fixed components from design-specific components.
- Identify the real minimum and lead time for each custom layer.
- Model leftover printed materials if demand is below forecast.
- Set a reorder point that includes approval and transit time.
How Onehourcrafts scores retail ready embroidery kits before launch
Use a timed review with people who did not develop the product. Give each reviewer 30 seconds at shelf distance, then ask them to state the craft, project, contents, skill level and main value cue. Record answers before explaining anything. Follow with pack integrity, barcode and instruction checks. Onehourcrafts can organize these observations into an approval checklist, but retail teams should add their own fixture, price and market requirements.
Know what the shelf clock cannot prove
Fast comprehension does not guarantee project success, compliant labeling or repeat sales. A beautiful pack can still contain confusing instructions or insufficient thread. Shelf trials also vary by lighting, fixture and neighboring products. Use the clock as one gate in a broader process that includes making trials, material verification, logistics tests and destination-market review. The strongest retail ready embroidery kits connect that quick promise to a complete making experience and reliable reorder data.
Frequently asked questions
What makes an embroidery kit retail ready?
It needs a clear project promise, complete and protected contents, tested instructions, readable consumer information, verified barcode data, stable shelf presentation and case-level replenishment records.
Should the finished project appear on the front?
Usually yes, because it quickly explains the outcome. The image should accurately represent the included design, colors, scale and finishing rather than showing accessories that are not supplied.
How should difficulty be labeled?
Base the label on stitches, preparation, step count and observed beginner behavior. Define the criteria across the range so “beginner,” “intermediate” and “advanced” have consistent meanings.
Is a packaging window always helpful?
No. A window helps when organized materials strengthen trust, but it can introduce glare, weaken the pack or reveal untidy movement. Compare a physical mockup with a strong product photograph.
How can needles be packed safely?
Secure them in a clearly identified holder that retains the stated count through distribution and opening. Placement should minimize accidental contact and make end-of-project storage understandable.
What should a 30-second shelf test record?
Record whether reviewers identify the craft, intended result, included tools and materials, skill fit and main value cue. Note hesitations and incorrect assumptions rather than only yes-or-no scores.
How many designs belong in a launch range?
There is no universal number. Choose enough to create a visible family while ensuring each SKU serves a distinct subject, price, skill, season or project format and can reach a viable reorder rate.
What files should packaging approval include?
Keep the controlled dieline, linked images, fonts or outlined text, color references, copy deck, barcode proof, material specification, revision history and signed physical sample.
How should buyers compare low minimum offers?
Compare minimums by component, setup charges, leftover custom materials, sampling cost, lead time and reorder flexibility. A low finished-unit minimum can hide a larger commitment to printed packaging.
When should the shelf clock be repeated?
Repeat it after structural or artwork changes, when moving to a different fixture, and before a major range extension. Use new reviewers so familiarity does not inflate comprehension.





